Unlock Flavor: Mastering Your Pressure Cooker
Conquer pressure cooking! This guide covers safety, timing, and transforming your favorite recipes for faster, more flavorful meals.
Beyond the Basics: Mastering Your Pressure Cooker for Faster, Flavorful Meals
Pressure cookers have evolved from intimidating stovetop contraptions to user-friendly electric appliances, promising faster, more flavorful meals. But many home cooks still find them mysterious. This guide demystifies pressure cooking, covering everything from safety to adapting your favorite recipes, and even includes some quick and delicious recipes to get you started.
Understanding Pressure Cooking: The Science Behind the Speed
Pressure cooking works by trapping steam inside a sealed pot. This increases the internal pressure, which in turn raises the boiling point of water. Higher temperatures cook food faster, often in a fraction of the time required by traditional methods.
Think of it this way: normally, water boils at 212°F (100°C). In a pressure cooker, the temperature can reach 250°F (121°C) or higher. This intensely hot, moist environment quickly tenderizes tough cuts of meat, softens dried beans, and infuses flavors deeply into ingredients.
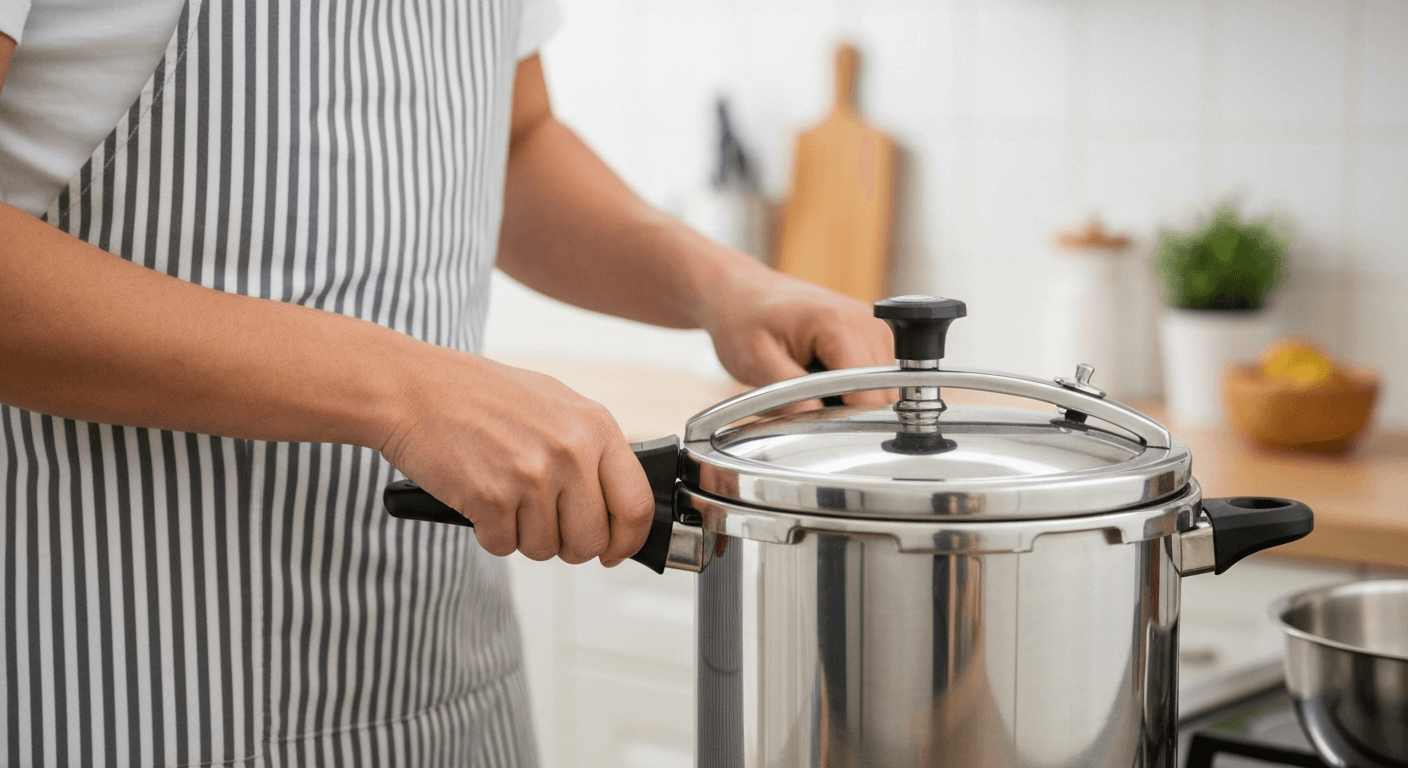
Choosing the Right Pressure Cooker: Stovetop vs. Electric
There are two main types of pressure cookers: stovetop and electric (often called multi-cookers or Instant Pots).
Stovetop pressure cookers are heated on the stovetop and require more hands-on monitoring to maintain the correct pressure. They are generally more durable and can reach higher pressures than electric models.
Electric pressure cookers are self-contained units with built-in heating elements and automatic pressure control. They are easier to use and offer features like timers, pre-programmed settings, and keep-warm functions. They are a great choice for beginners and those who prefer a more hands-off approach.
Consider your cooking style and needs when choosing a pressure cooker. If you want maximum control and high pressure, a stovetop model might be best. If you value convenience and ease of use, an electric model is the better option.
Safety First: Understanding Pressure Cooker Safety Features
Safety is paramount when using a pressure cooker. Modern pressure cookers are equipped with multiple safety features to prevent accidents.
-
Lid Locking Mechanism: Prevents the lid from being opened while the pot is pressurized.
-
Pressure Relief Valve: Releases excess pressure to prevent explosions. Some models have automatic pressure release, while others require manual release.
-
Safety Valve: A secondary pressure release mechanism that activates if the primary valve fails.
-
Overpressure Protection: Shuts off the heat source if the pressure becomes too high.
Always read the manufacturer's instructions carefully before using your pressure cooker. Never try to force the lid open while the pot is pressurized.
Mastering Cooking Times: A Guide to Common Ingredients
Cooking times vary significantly depending on the ingredient, its size, and the desired level of doneness. Here's a general guide for some common ingredients:
-
Dried Beans: 20-30 minutes (followed by a natural pressure release)
-
Potatoes (cubed): 5-8 minutes
-
Chicken (bone-in): 8-12 minutes
-
Beef Stew Meat: 20-30 minutes
-
Rice: 3-5 minutes (followed by a natural pressure release)
These times are approximate and may need to be adjusted based on your specific pressure cooker and recipe. Always err on the side of undercooking, as you can always cook for a few more minutes.
Pressure Release Methods: Natural vs. Quick Release
There are two main methods for releasing pressure: natural pressure release (NPR) and quick release (QR).
Natural Pressure Release (NPR): Allows the pressure to dissipate gradually on its own. This method is best for foods that benefit from resting in the hot liquid, such as beans, grains, and large cuts of meat. It prevents the food from drying out and helps to tenderize tough cuts.
Quick Release (QR): Involves manually releasing the pressure by opening the pressure release valve. This method is best for foods that you want to stop cooking quickly, such as vegetables and delicate proteins. It prevents overcooking and ensures that the food retains its texture.
Consult your recipe to determine the best pressure release method for your dish.
Adapting Your Favorite Recipes for the Pressure Cooker
Many traditional recipes can be adapted for the pressure cooker. Here are some general guidelines:
-
Reduce Liquid: Pressure cooking requires less liquid than traditional methods because very little evaporates. Reduce the amount of liquid by about one-third to one-half.
-
Adjust Cooking Times: Significantly reduce cooking times based on the ingredient guidelines provided earlier. Start with shorter times and add more if needed.
-
Consider Layering: Place ingredients that require longer cooking times at the bottom of the pot, closer to the heat source.
-
Thicken Sauces After Cooking: Sauces may be thinner after pressure cooking. Thicken them by simmering on the sauté function after the pressure cooking cycle is complete.
Troubleshooting Common Pressure Cooking Problems
-
Food is Undercooked: Increase the cooking time by a few minutes.
-
Food is Overcooked: Reduce the cooking time in future attempts. Use the quick release method to stop the cooking process quickly.
-
Burned Food: Ensure there is enough liquid in the pot. Place delicate ingredients on top of other ingredients to prevent them from scorching.
-
Lid Won't Open: The pot is still pressurized. Allow the pressure to release naturally or use the quick release method.
Delicious & Quick Pressure Cooker Recipes
Here are a few recipes to get you started on your pressure cooking journey:
1. Quick Chicken Noodle Soup
-
Ingredients: 1 lb boneless, skinless chicken breasts, 6 cups chicken broth, 1 cup chopped carrots, 1 cup chopped celery, 1 cup egg noodles, 1 tsp dried thyme, salt and pepper to taste.
-
Instructions: Place all ingredients in the pressure cooker. Seal the lid and cook on high pressure for 8 minutes. Quick release the pressure. Shred the chicken with two forks. Serve hot.
2. One-Pot Mac and Cheese
-
Ingredients: 1 lb elbow macaroni, 4 cups chicken broth, 4 tbsp butter, 1 tsp salt, 1/2 tsp black pepper, 2 cups shredded cheddar cheese, 1 cup milk.
-
Instructions: Place macaroni, broth, butter, salt, and pepper in the pressure cooker. Seal the lid and cook on high pressure for 4 minutes. Quick release the pressure. Stir in cheese and milk until melted and creamy.
3. Hearty Beef Chili
-
Ingredients: 1 lb ground beef, 1 onion (chopped), 2 cloves garlic (minced), 1 can (15 oz) diced tomatoes, 1 can (15 oz) kidney beans (drained and rinsed), 1 can (15 oz) black beans (drained and rinsed), 1 cup beef broth, 2 tbsp chili powder, 1 tsp cumin, salt and pepper to taste.
-
Instructions: Brown the ground beef in the pressure cooker using the sauté function. Drain any excess fat. Add onion and garlic and cook until softened. Add remaining ingredients. Seal the lid and cook on high pressure for 25 minutes. Natural pressure release for 10 minutes, then quick release any remaining pressure. Serve with your favorite toppings.
Cleaning and Maintaining Your Pressure Cooker
Proper cleaning and maintenance will extend the life of your pressure cooker.
-
Wash the Pot and Lid: Wash the pot and lid with warm, soapy water after each use.
-
Clean the Pressure Release Valve: Remove and clean the pressure release valve to prevent clogs.
-
Check the Sealing Ring: Inspect the sealing ring for cracks or damage. Replace it as needed.
-
Store Properly: Store the pressure cooker with the lid slightly ajar to allow air to circulate.
Conclusion: Embrace the Speed and Flavor
Pressure cooking is a versatile and efficient cooking method that can save you time and enhance the flavor of your meals. By understanding the basics of pressure cooking, mastering cooking times, and adapting your favorite recipes, you can unlock a world of culinary possibilities. So, dust off that pressure cooker, experiment with new recipes, and enjoy the delicious, quick, and flavorful meals it has to offer!