Searing Meat: The Ultimate Guide to Restaurant-Quality Results
Unlock the secrets to perfectly seared meat! Achieve a beautiful crust, juicy interior, and impress your guests. Read our expert tips!
Searing Meat Perfectly: A Comprehensive Guide
Searing meat is a fundamental cooking technique that elevates simple cuts into culinary masterpieces. It's the process of quickly browning the surface of meat at high heat, creating a flavorful crust and enhancing the overall texture. While seemingly straightforward, mastering the art of searing requires understanding key principles and techniques.
This guide will walk you through everything you need to know about searing meat perfectly, from choosing the right cut to achieving that coveted Maillard reaction.
Why Sear Meat? The Science and Flavor Behind the Crust
Searing isn't just about aesthetics; it's about flavor and texture. The high heat triggers the Maillard reaction, a chemical process between amino acids and reducing sugars that creates hundreds of flavor compounds. These compounds are responsible for the rich, savory, and complex flavors we associate with perfectly cooked meat.
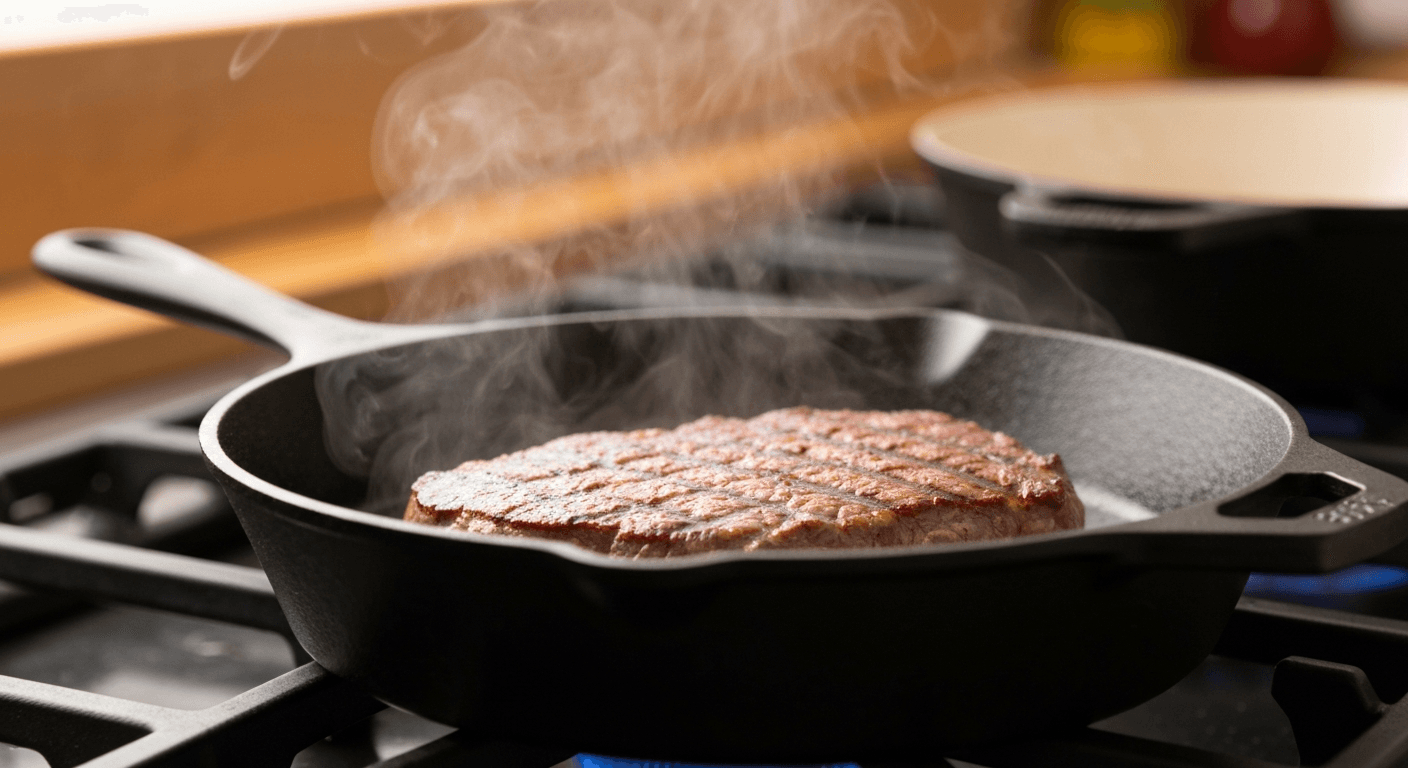
Beyond flavor, searing also creates a beautiful crust that adds textural contrast. This crust helps to retain moisture within the meat, resulting in a juicier and more tender final product. The contrast between the crispy exterior and the tender interior is a hallmark of expertly cooked meat.
Choosing the Right Cut: Not All Meat is Created Equal
The best cuts for searing are those that are relatively tender and have good marbling (intramuscular fat). Marbling renders during cooking, adding flavor and moisture.
Here are some excellent choices for searing:
- Steak: Ribeye, New York strip, filet mignon, sirloin, flank steak, skirt steak.
- Pork: Pork chops (especially bone-in), pork tenderloin.
- Lamb: Lamb chops, lamb loin.
- Poultry: Chicken breasts (skin-on or skinless), duck breasts.
- Seafood: Scallops, tuna steaks, salmon fillets.
Thicker cuts (at least 1 inch thick) are generally better for searing because they allow you to develop a good crust without overcooking the interior. Thinner cuts can be seared quickly, but they are more prone to drying out.
Essential Equipment: Setting Yourself Up for Success
Having the right equipment is crucial for achieving a perfect sear.
- Heavy-Bottomed Pan: Cast iron, stainless steel, or carbon steel pans are ideal because they distribute heat evenly and retain it well. Avoid non-stick pans, as they don't get hot enough to create a good sear.
- Tongs: Use tongs to flip and move the meat in the pan. Forks can pierce the meat, releasing valuable juices.
- Meat Thermometer: An instant-read thermometer is essential for ensuring the meat is cooked to the desired internal temperature.
- Paper Towels: Patting the meat dry before searing is crucial for achieving a good crust.
Step-by-Step Guide to Searing Meat
Follow these steps for perfectly seared meat every time:
-
Prepare the Meat: Pat the meat dry with paper towels. This removes surface moisture, which can inhibit browning. Season generously with salt and pepper. You can also add other spices or herbs to your liking.
-
Heat the Pan: Place the pan over medium-high to high heat. Add a high-smoke-point oil, such as avocado oil, canola oil, or grapeseed oil. The oil should shimmer but not smoke.
-
Sear the Meat: Carefully place the meat in the hot pan, ensuring it doesn't overcrowd the pan. Overcrowding will lower the pan temperature and result in steaming instead of searing.
-
Resist the Urge to Move: Let the meat sear undisturbed for 2-4 minutes per side, depending on the thickness and desired level of doneness. A good sear will release the meat from the pan easily. If it sticks, it's not ready to be flipped.
-
Flip and Sear the Other Side: Use tongs to flip the meat and sear the other side for the same amount of time.
-
Check the Internal Temperature: Use a meat thermometer to check the internal temperature of the meat. Remove the meat from the pan when it is a few degrees below your desired doneness, as it will continue to cook during resting.
-
Rest the Meat: Transfer the seared meat to a cutting board and let it rest for 5-10 minutes before slicing. Resting allows the juices to redistribute throughout the meat, resulting in a more tender and flavorful final product.
Tips and Tricks for Searing Success
-
Don't Overcrowd the Pan: Sear meat in batches if necessary to avoid lowering the pan temperature.
-
Use High Heat: High heat is essential for achieving a good sear. However, be careful not to burn the oil or the meat.
-
Pat the Meat Dry: Removing surface moisture is crucial for browning.
-
Season Generously: Salt and pepper enhance the flavor of the meat and help to create a good crust.
-
Use a Meat Thermometer: An instant-read thermometer is the best way to ensure the meat is cooked to the desired internal temperature.
-
Rest the Meat: Resting allows the juices to redistribute, resulting in a more tender and flavorful final product.
-
Consider Basting: For thicker cuts, consider basting the meat with butter, herbs, and aromatics during the last few minutes of cooking. This adds flavor and moisture.
-
Reverse Sear: For very thick cuts, consider the reverse sear method. This involves cooking the meat at a low temperature until it is almost done, then searing it in a hot pan to create a crust.
Common Mistakes to Avoid
-
Using a Cold Pan: A cold pan will result in steaming instead of searing.
-
Overcrowding the Pan: Overcrowding lowers the pan temperature and inhibits browning.
-
Not Patting the Meat Dry: Surface moisture prevents browning.
-
Moving the Meat Too Soon: The meat needs to sear undisturbed to develop a good crust.
-
Overcooking the Meat: Use a meat thermometer to avoid overcooking.
-
Not Resting the Meat: Resting allows the juices to redistribute, resulting in a more tender and flavorful final product.
Internal Temperature Guide
Use this guide to determine the desired internal temperature for different types of meat:
-
Beef:
- Rare: 125-130°F (52-54°C)
- Medium-Rare: 130-135°F (54-57°C)
- Medium: 135-145°F (57-63°C)
- Medium-Well: 145-155°F (63-68°C)
- Well-Done: 155°F+ (68°C+)
-
Pork: 145°F (63°C)
-
Lamb:
- Rare: 125-130°F (52-54°C)
- Medium-Rare: 130-135°F (54-57°C)
- Medium: 135-145°F (57-63°C)
- Medium-Well: 145-155°F (63-68°C)
- Well-Done: 155°F+ (68°C+)
-
Poultry: 165°F (74°C)
-
Seafood: 145°F (63°C)
Remember to remove the meat from the pan when it is a few degrees below your desired doneness, as it will continue to cook during resting.
Beyond the Basics: Advanced Searing Techniques
Once you've mastered the basics, you can experiment with more advanced searing techniques.
-
Pan Sauce: After searing the meat, deglaze the pan with wine, broth, or other liquids to create a flavorful pan sauce. Scrape up any browned bits from the bottom of the pan (fond) to add depth of flavor.
-
Compound Butter: Top the seared meat with a pat of compound butter (butter mixed with herbs, spices, or other flavorings) for added richness and flavor.
-
Dry Brining: Dry brining involves salting the meat several hours or even a day before cooking. This helps to season the meat from the inside out and improves its moisture retention.
Searing Meat: A Culinary Skill Worth Mastering
Searing meat perfectly is a culinary skill that is well worth mastering. By following the tips and techniques outlined in this guide, you can consistently achieve restaurant-quality results in your own kitchen. So, grab your favorite cut of meat, heat up your pan, and get ready to create a delicious and memorable meal!