Fermentation for Beginners: A Delicious Dive into Cultured Foods
Unlock the world of fermentation! Learn to make probiotic-rich foods at home with simple techniques and reap the health benefits.
Fermentation for Beginners: A Delicious Dive into Cultured Foods
Are you ready to embark on a culinary adventure that's both delicious and beneficial for your gut? Welcome to the fascinating world of fermentation! For centuries, cultures around the globe have harnessed the power of microorganisms to transform ordinary ingredients into extraordinary foods packed with flavor and probiotics. This guide will provide you with the foundational knowledge to start your own fermentation journey, covering everything from basic principles to easy-to-follow recipes.
What is Fermentation?
At its core, fermentation is a metabolic process in which microorganisms like bacteria, yeast, and mold convert carbohydrates (sugars and starches) into acids, gases, or alcohol. This process not only preserves food but also enhances its flavor and nutritional value. Think of the tangy taste of sauerkraut, the fizzy delight of kombucha, or the complex flavors of sourdough bread – all products of fermentation.
The Benefits of Fermented Foods
Beyond their unique flavors, fermented foods offer a wealth of health benefits. The primary advantage lies in their probiotic content. Probiotics are live microorganisms that, when consumed in adequate amounts, confer a health benefit on the host. They contribute to a healthy gut microbiome, which plays a crucial role in digestion, immunity, and even mental health.
Here are some of the key benefits of incorporating fermented foods into your diet:
- Improved Digestion: Probiotics aid in breaking down food and absorbing nutrients, reducing bloating and discomfort.
- Enhanced Immunity: A healthy gut microbiome strengthens the immune system, making you less susceptible to infections.
- Increased Nutrient Availability: Fermentation can increase the bioavailability of certain nutrients, such as vitamins and minerals.
- Mental Well-being: Emerging research suggests a link between gut health and brain function, with probiotics potentially improving mood and reducing anxiety.
- Delicious Flavors: Fermented foods offer a wide range of complex and tangy flavors that can enhance your culinary experience.
Getting Started: Essential Equipment
Fortunately, you don't need a lot of fancy equipment to start fermenting at home. Here are some essentials:
- Glass Jars: Wide-mouth mason jars are ideal for fermenting vegetables. Ensure they are clean and sterilized.
- Fermentation Weights: These keep vegetables submerged in the brine, preventing mold growth. Glass weights or small ziplock bags filled with brine work well.
- Airlocks (Optional): Airlocks allow gases to escape while preventing air from entering the jar, creating an anaerobic environment. However, they are not strictly necessary for many ferments.
- Fermentation Lids (Optional): These lids are designed to work with airlocks and mason jars, providing a convenient and secure setup.
- Salt: Use non-iodized salt, as iodine can inhibit the growth of beneficial bacteria.
- Vegetable Chopping Tools: A good knife and cutting board are essential for preparing your vegetables.
- Measuring Cups and Spoons: Accurate measurements are important for consistent results.
Lacto-Fermentation: The Basics
Lacto-fermentation is one of the most common and accessible methods of fermentation. It involves using lactic acid bacteria (LAB) to ferment vegetables in a brine solution. These bacteria consume the sugars in the vegetables and produce lactic acid, which preserves the food and gives it a characteristic tangy flavor.
Step-by-Step Guide to Lacto-Fermenting Vegetables
-
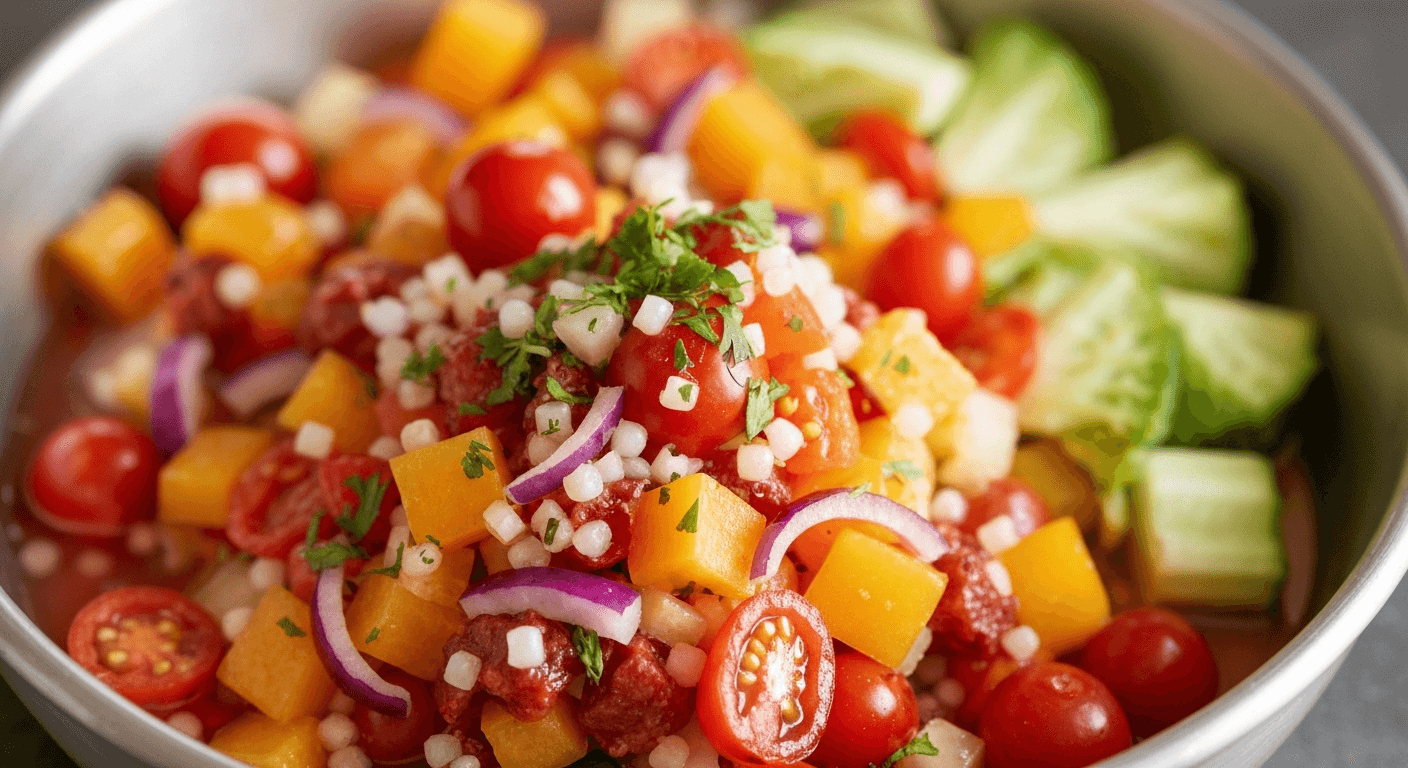
Prepare the Vegetables: Wash and chop your chosen vegetables. Common choices include cabbage (for sauerkraut), cucumbers (for pickles), carrots, peppers, and onions.
-
Weigh the Vegetables: This is important for calculating the correct amount of salt.
-
Calculate the Salt: A general rule of thumb is to use 2-3% salt by weight. For example, if you have 500g of vegetables, you would need 10-15g of salt. For beginners, aim for 2.5%.
-
Combine Vegetables and Salt: In a large bowl, massage the salt into the vegetables. This will help draw out the juices and create a brine.
-
Pack the Vegetables: Pack the salted vegetables tightly into a clean glass jar, leaving about an inch of headspace at the top. Press down firmly to release more liquid.
-
Ensure Submersion: The vegetables must be completely submerged in the brine to prevent mold growth. If necessary, add additional brine (made with the same salt concentration) to cover the vegetables. Use a fermentation weight to keep them submerged.
-
Ferment: Cover the jar with a lid or airlock. If using a regular lid, burp the jar daily to release excess gases. Ferment at room temperature (ideally 65-75°F) for 1-4 weeks, depending on your taste preference. Taste the vegetables periodically to check their progress.
-
Refrigerate: Once the vegetables have reached your desired level of sourness, transfer them to the refrigerator to slow down the fermentation process. They can be stored in the refrigerator for several months.
Common Mistakes and Tips for Success
- Insufficient Salt: Using too little salt can lead to mold growth. Always weigh your vegetables and calculate the salt accurately.
- Inadequate Submersion: If the vegetables are not fully submerged in the brine, they can become moldy. Use fermentation weights to keep them submerged.
- Temperature Fluctuations: Avoid fermenting in areas with extreme temperature fluctuations, as this can disrupt the fermentation process.
- Mold Growth: If you notice mold growing on the surface of the brine, discard the entire batch. Mold indicates that the fermentation process has gone wrong.
- Burping the Jar: If you're not using an airlock, remember to burp the jar daily to release excess gases. This will prevent the jar from exploding.
- Use Quality Ingredients: Start with fresh, high-quality vegetables for the best results.
Kombucha Brewing: A Fizzy Delight
Kombucha is a fermented tea beverage that has gained immense popularity in recent years. It's made by fermenting sweetened tea with a SCOBY (Symbiotic Culture of Bacteria and Yeast). The SCOBY consumes the sugar and produces a tangy, slightly sweet, and effervescent drink.
Step-by-Step Guide to Brewing Kombucha
-
Brew the Tea: Brew a strong batch of tea using black or green tea. Use about 1 gallon of filtered water and 8 tea bags or 2 tablespoons of loose-leaf tea. Let the tea steep for 10-15 minutes, then remove the tea bags or leaves.
-
Dissolve the Sugar: While the tea is still hot, dissolve 1 cup of sugar in the tea. Stir until the sugar is completely dissolved.
-
Cool the Tea: Allow the tea to cool to room temperature. This is important because hot tea can damage the SCOBY.
-
Combine Ingredients: Pour the cooled tea into a clean glass jar (1-gallon size). Add 1 cup of starter liquid from a previous batch of kombucha. This will help lower the pH and prevent mold growth.
-
Add the SCOBY: Gently place the SCOBY on top of the tea. It may sink or float, either is fine.
-
Cover and Ferment: Cover the jar with a breathable cloth (like cheesecloth or a coffee filter) and secure it with a rubber band. This will allow air to circulate while preventing fruit flies from entering.
-
Ferment: Ferment at room temperature (ideally 68-78°F) for 7-30 days, depending on your taste preference. Taste the kombucha periodically to check its progress. The longer it ferments, the more sour it will become.
-
Bottle and Flavor (Optional): Once the kombucha has reached your desired level of sourness, remove the SCOBY and 1 cup of starter liquid for your next batch. Pour the kombucha into glass bottles, leaving about an inch of headspace. You can add fruit, herbs, or spices to flavor the kombucha during a second fermentation (2-3 days at room temperature) to increase carbonation and add flavor.
-
Refrigerate: Refrigerate the bottled kombucha to slow down the fermentation process and prevent it from becoming too sour. Enjoy within a few weeks.
Common Mistakes and Tips for Success
- Using Hot Tea: Adding the SCOBY to hot tea can kill it. Always allow the tea to cool to room temperature before adding the SCOBY.
- Contamination: Keep your brewing area clean to prevent contamination. Wash your hands and equipment thoroughly before starting.
- Mold Growth: If you notice mold growing on the SCOBY or in the kombucha, discard the entire batch.
- Fruit Flies: Fruit flies are attracted to kombucha. Make sure the cloth covering the jar is secured tightly with a rubber band.
- SCOBY Health: A healthy SCOBY will be thick and opaque. If the SCOBY becomes thin or discolored, it may be a sign of contamination or stress.
- Patience: Kombucha fermentation takes time. Be patient and allow the kombucha to ferment for the appropriate amount of time.
Other Fermentation Adventures
Once you've mastered lacto-fermentation and kombucha brewing, you can explore other exciting fermentation projects, such as:
- Sourdough Bread: Cultivating your own sourdough starter and baking delicious, tangy bread.
- Yogurt: Making homemade yogurt with a yogurt starter culture.
- Kefir: Fermenting milk or water with kefir grains to create a probiotic-rich beverage.
- Miso: Fermenting soybeans with koji to create a savory Japanese seasoning.
- Tempeh: Fermenting soybeans with Rhizopus mold to create a protein-rich food.
Conclusion
Fermentation is a rewarding and accessible culinary art that offers a wealth of health benefits and delicious flavors. By following the simple techniques outlined in this guide, you can embark on your own fermentation journey and create a variety of probiotic-rich foods at home. So, gather your ingredients, embrace the power of microorganisms, and get ready to experience the magic of fermentation!