Effortless Poultry: Deboning Chicken & Turkey Like a Pro
Unlock the secret to perfectly deboned poultry! This guide covers tools, techniques, and stock-making for chicken & turkey.
Effortless Poultry: Deboning Chicken & Turkey Like a Pro
Deboning poultry might seem intimidating, but with the right tools and techniques, it's surprisingly easy. Mastering this skill opens up a world of culinary possibilities, from stuffing and rolling to creating incredibly flavorful stocks. This comprehensive guide will walk you through the process step-by-step, covering both chicken and turkey.
Why Debone Poultry?
Deboning offers several advantages. It allows for even cooking, easier carving, and the creation of impressive stuffed roasts. Plus, you can use the bones to make rich, flavorful stock, minimizing waste.
Essential Tools
Before you begin, gather the necessary tools:
-
Sharp Boning Knife: This is the most crucial tool. A flexible, 6-inch boning knife is ideal for navigating around bones.
-
Kitchen Shears: Useful for cutting through rib bones and joints.
-
Cutting Board: A large, stable cutting board is essential.
-
Paper Towels: For maintaining a secure grip and keeping your workspace clean.
-
Optional: Kitchen Twine: For trussing the deboned bird, especially if stuffing it.
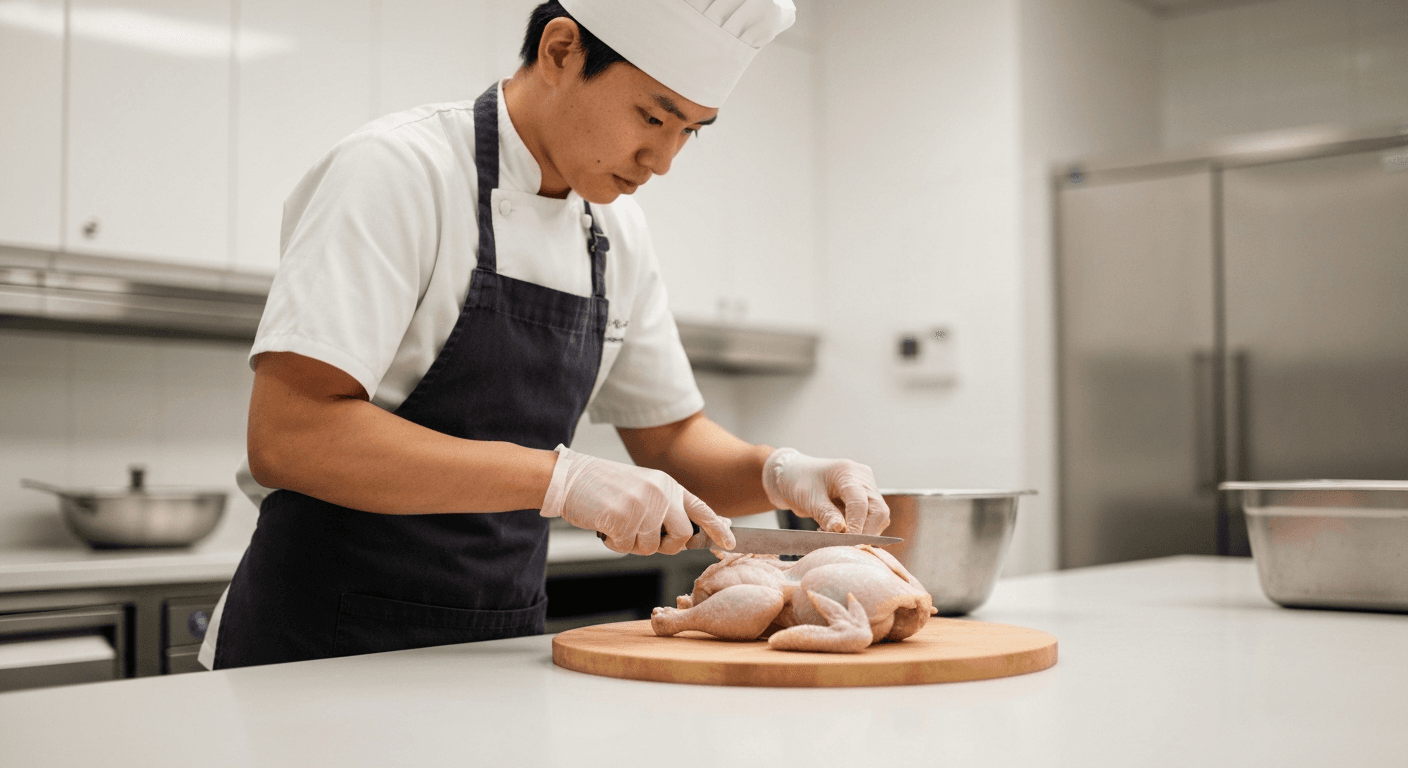
Deboning a Chicken: A Step-by-Step Guide
Let's start with the chicken, as it's a smaller and simpler bird to practice on. Follow these steps carefully, and don't be afraid to take your time.
Step 1: Preparing the Chicken
Rinse the chicken inside and out with cold water and pat it dry with paper towels. This ensures a clean working surface and better grip.
Place the chicken breast-side down on the cutting board.
Step 2: Removing the Backbone
Using kitchen shears, cut along one side of the backbone, starting at the tail end. Apply steady pressure and work your way up to the neck.
Repeat on the other side of the backbone to remove it completely. You can save the backbone for stock.
Step 3: Removing the Rib Cage
With the chicken still breast-side down, use your boning knife to carefully separate the meat from the rib cage. Start at the neck end and work your way down, using short, controlled strokes.
Keep the knife close to the bones to avoid wasting meat. Use your fingers to gently pull the meat away as you go.
Step 4: Removing the Thigh and Leg Bones
Turn the chicken over, breast-side up. Locate the thigh bone and use your knife to scrape the meat away from the bone. Work around the bone until you reach the joint connecting the thigh to the body.
Use your knife to cut through the joint, then continue scraping the meat away from the bone until it's completely detached. Repeat on the other thigh.
For the leg bone, make a cut along the bone from the thigh joint down to the drumstick. Scrape the meat away from the bone, working around it until it's detached. Repeat on the other leg.
Step 5: Removing the Wing Bones (Optional)
You can choose to leave the wing bones in for presentation, or remove them completely. If removing them, follow a similar technique to the leg and thigh bones, scraping the meat away from the bone and cutting through the joint.
Step 6: Finishing Touches
Inspect the chicken for any remaining bones or cartilage and remove them with your knife. Trim away any excess fat or skin.
You now have a completely deboned chicken, ready to be stuffed or used in your favorite recipe.
Deboning a Turkey: A Larger Challenge
Deboning a turkey follows the same principles as deboning a chicken, but requires more time and effort due to the larger size and tougher joints. Here's a step-by-step guide:
Step 1: Preparing the Turkey
Rinse the turkey inside and out with cold water and pat it dry with paper towels. Ensure the turkey is fully thawed before starting.
Place the turkey breast-side down on a large cutting board.
Step 2: Removing the Backbone
Using kitchen shears or a sturdy knife, cut along one side of the backbone, starting at the tail end. This may require more force than with a chicken.
Repeat on the other side of the backbone to remove it completely. Save the backbone for stock.
Step 3: Removing the Rib Cage
With the turkey still breast-side down, use your boning knife to carefully separate the meat from the rib cage. Start at the neck end and work your way down, using short, controlled strokes. This will be a longer process than with a chicken.
Keep the knife close to the bones to avoid wasting meat. Use your fingers to gently pull the meat away as you go. Be patient and persistent.
Step 4: Removing the Thigh and Leg Bones
Turn the turkey over, breast-side up. Locate the thigh bone and use your knife to scrape the meat away from the bone. Work around the bone until you reach the joint connecting the thigh to the body. The joints in a turkey are much stronger than in a chicken, so you may need to apply more force.
Use your knife to cut through the joint, then continue scraping the meat away from the bone until it's completely detached. Repeat on the other thigh.
For the leg bone, make a cut along the bone from the thigh joint down to the drumstick. Scrape the meat away from the bone, working around it until it's detached. Repeat on the other leg.
Step 5: Removing the Wing Bones (Optional)
Similar to the chicken, you can choose to leave the wing bones in or remove them. If removing them, follow the same technique as with the legs and thighs.
Step 6: Finishing Touches
Inspect the turkey for any remaining bones or cartilage and remove them with your knife. Trim away any excess fat or skin. You now have a completely deboned turkey, ready to be stuffed or used in your favorite recipe.
Tips for Success
-
Sharp Knife is Key: A dull knife is more dangerous and less efficient. Keep your boning knife sharp.
-
Take Your Time: Deboning poultry is not a race. Work slowly and carefully to avoid damaging the meat or injuring yourself.
-
Use Your Fingers: Your fingers are your best tools for feeling around the bones and separating the meat.
-
Don't Be Afraid to Cut: If you encounter resistance, don't force it. Use your knife to carefully cut through any connective tissue.
-
Practice Makes Perfect: The more you debone poultry, the easier it will become.
Stuffing and Trussing
Once your poultry is deboned, you can stuff it with your favorite filling. Popular options include rice, vegetables, sausage, and herbs.
After stuffing, truss the bird with kitchen twine to help it maintain its shape during cooking. This involves tying the legs and wings close to the body. There are many different trussing techniques; find one that works for you.
Making Stock with the Bones
Don't throw away the bones! They are perfect for making flavorful stock. Simply roast the bones in the oven until browned, then simmer them in a large pot with water, vegetables (such as onions, carrots, and celery), and herbs for several hours. Strain the stock and use it in soups, sauces, or stews.
Common Mistakes to Avoid
-
Using a Dull Knife: This makes the process much more difficult and increases the risk of injury.
-
Rushing the Process: Take your time and work carefully.
-
Wasting Meat: Keep the knife close to the bones to avoid cutting away too much meat.
-
Not Removing All Bones: Thoroughly inspect the bird for any remaining bones before stuffing or cooking.
-
Ignoring Safety: Always be mindful of your knife and avoid cutting towards yourself.
Conclusion
Deboning poultry is a valuable skill that will elevate your cooking. With practice and patience, you can master this technique and create impressive dishes. Remember to use sharp tools, take your time, and don't be afraid to experiment. Happy cooking!