Edible Art: A Beginner's Guide to Fruit Carving
Transform ordinary fruit into stunning edible art! Learn basic techniques and create beautiful displays with our beginner-friendly guide.
Edible Art: A Beginner's Guide to Stunning Fruit Carvings
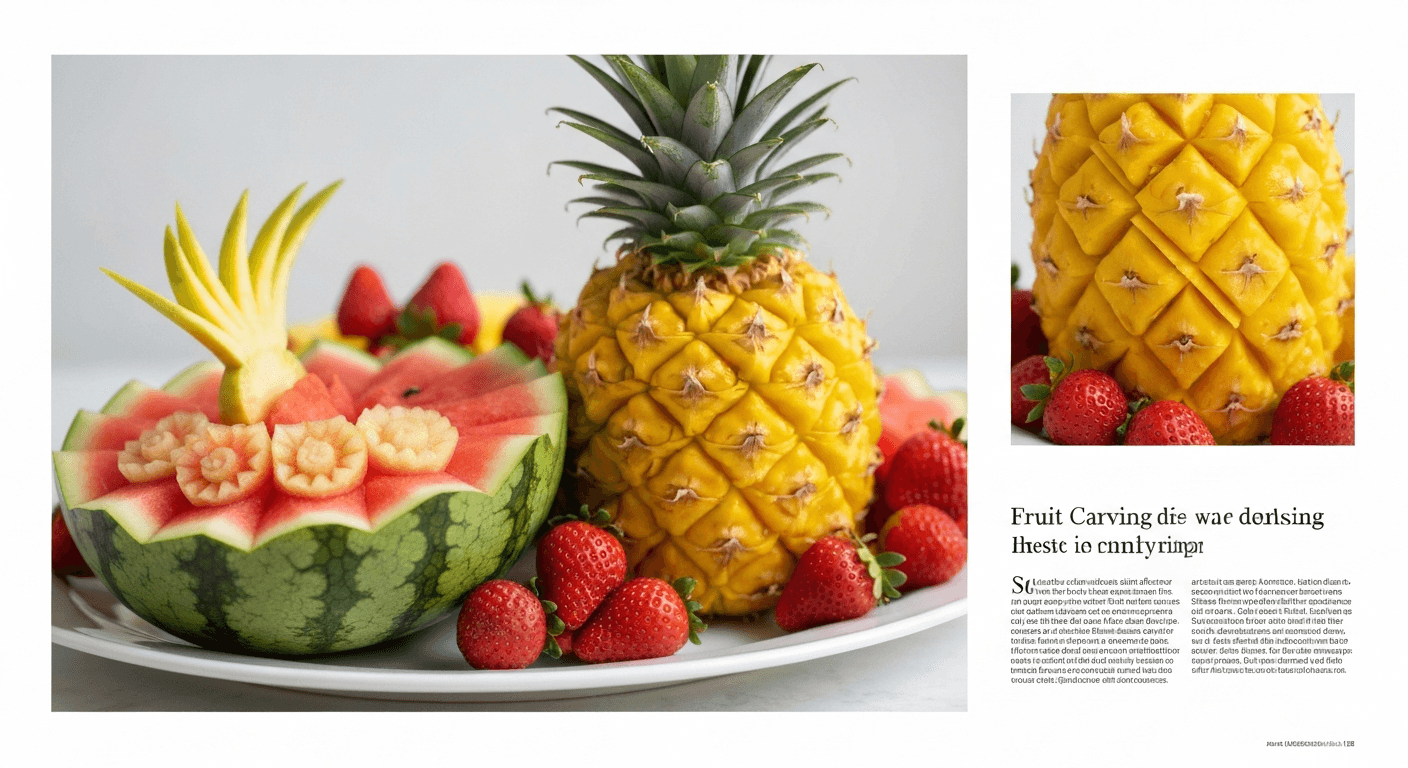
Fruit carving, the art of transforming ordinary fruits into breathtaking sculptures, is a fascinating culinary skill. It's a way to add elegance and visual appeal to any occasion, from simple family meals to elaborate celebrations. This guide will introduce you to the basics of fruit carving, covering essential tools, fundamental techniques, and step-by-step tutorials to help you create your own edible masterpieces.
A Brief History of Fruit Carving
The origins of fruit carving can be traced back centuries, with evidence suggesting its roots in ancient Asian cultures, particularly Thailand. Originally, fruit carving was a royal art form, used to decorate the tables of kings and emperors. Over time, the art spread to other parts of the world, evolving and adapting to different cultural influences. Today, fruit carving is enjoyed by chefs and hobbyists alike, adding a touch of artistry to culinary creations.
Essential Tools for Fruit Carving
Having the right tools is crucial for successful fruit carving. While a few specialized knives are ideal, you can start with a basic set and gradually expand your collection as your skills develop.
-
Thai Carving Knife: This is the most essential tool for fruit carving. It features a short, thin, and flexible blade, perfect for intricate cuts and delicate details.
-
Paring Knife: A small, sharp paring knife is useful for peeling fruits and making larger cuts.
-
Melon Baller: This tool is great for creating uniform spheres of fruit for decorative accents.
-
Vegetable Peeler: A good vegetable peeler is essential for removing the skin from fruits quickly and efficiently.
-
Cutting Board: A stable cutting board is a must for safe and precise carving.
-
Toothpicks or Skewers: These are helpful for securing fruit pieces together and creating three-dimensional designs.
-
Optional Tools: V-shaped carving tool, U-shaped carving tool, channel knife.
Choosing the Right Fruits
Selecting the right fruits is just as important as having the right tools. Choose fruits that are firm, ripe, and free from blemishes.
-
Watermelon: Watermelon is a popular choice for beginners due to its large size and relatively soft flesh.
-
Cantaloupe and Honeydew Melon: These melons are also easy to carve and offer a variety of colors and textures.
-
Pineapple: Pineapple has a unique texture that lends itself well to carving, but it can be a bit more challenging to work with.
-
Apples and Pears: These fruits are great for smaller carvings and garnishes.
-
Strawberries and Grapes: These smaller fruits can be used to add color and detail to larger carvings.
Basic Fruit Carving Techniques
Mastering a few basic techniques will allow you to create a wide range of designs.
-
V-Cut: This technique involves making a V-shaped cut into the fruit, removing a small piece of flesh. It's used to create petals, leaves, and other decorative elements.
- Step 1: Hold the fruit firmly and position the carving knife at a 45-degree angle.
- Step 2: Make a shallow cut into the fruit.
- Step 3: Repeat the cut on the opposite side, forming a V-shape.
- Step 4: Remove the piece of fruit.
-
U-Cut: Similar to the V-cut, this technique involves making a U-shaped cut, creating a curved groove in the fruit.
- Step 1: Hold the fruit firmly and position the carving knife at a slight angle.
- Step 2: Make a curved cut into the fruit, following the desired shape.
- Step 3: Repeat the cut on the opposite side, forming a U-shape.
- Step 4: Remove the piece of fruit.
-
Channel Cut: This technique involves using a channel knife to create long, thin grooves in the fruit's surface.
- Step 1: Hold the channel knife at a slight angle to the fruit's surface.
- Step 2: Apply gentle pressure and draw the knife along the fruit, creating a groove.
- Step 3: Repeat the cut to create parallel grooves.
-
Peeling: Proper peeling is essential for creating clean lines and smooth surfaces. Use a sharp vegetable peeler or paring knife to remove the skin from the fruit, taking care not to remove too much of the flesh.
Step-by-Step Tutorials: Simple Fruit Carvings
Let's start with a few simple fruit carving projects to help you get the hang of the basic techniques.
1. Watermelon Basket:
- Step 1: Choose a medium-sized watermelon and wash it thoroughly.
- Step 2: Cut a thin slice off the bottom of the watermelon to create a stable base.
- Step 3: Draw a line around the watermelon, about halfway up, marking the top of the basket.
- Step 4: Use a paring knife to cut along the line, separating the top and bottom halves of the watermelon.
- Step 5: Carefully scoop out the flesh from both halves of the watermelon, leaving a 1-inch border.
- Step 6: Use a V-shaped carving tool or a paring knife to create a decorative edge around the top of the basket.
- Step 7: Carve a handle for the basket by leaving a strip of watermelon intact on one side.
- Step 8: Fill the basket with a variety of fruits, such as melon balls, grapes, and berries.
2. Apple Swan:
- Step 1: Choose a firm apple and wash it thoroughly.
- Step 2: Cut a thin slice off the bottom of the apple to create a stable base.
- Step 3: Cut a V-shape into the top of the apple, about halfway down, to create the swan's neck.
- Step 4: Use a paring knife to carefully carve the swan's head and beak.
- Step 5: Create the swan's wings by making a series of V-cuts along the sides of the apple.
- Step 6: Gently fan out the wings to create a feathery effect.
- Step 7: Place the apple swan on a plate and garnish with fresh herbs or berries.
3. Strawberry Roses:
- Step 1: Choose fresh, ripe strawberries and wash them thoroughly.
- Step 2: Hold a strawberry by the stem and use a paring knife to make a small cut near the base of the strawberry.
- Step 3: Rotate the strawberry and make another cut, slightly overlapping the first.
- Step 4: Continue making cuts around the strawberry, creating a spiral pattern.
- Step 5: Gently peel back the petals to create a rose-like shape.
- Step 6: Repeat the process with several strawberries and arrange them on a plate or cake.
Design Principles for Fruit Carving
While technique is important, understanding design principles will elevate your fruit carvings from simple decorations to true works of art.
-
Balance: Aim for visual balance in your carvings. This can be achieved through symmetry or asymmetry, but ensure that the overall design feels harmonious.
-
Proportion: Pay attention to the proportions of your carvings. The size and scale of different elements should be visually appealing and consistent with the overall design.
-
Contrast: Use contrasting colors, textures, and shapes to create visual interest. For example, pairing a smooth melon with a textured pineapple can add depth and dimension to your carving.
-
Harmony: Ensure that all the elements of your carving work together to create a cohesive and unified design.
-
Focal Point: Create a focal point in your carving to draw the viewer's eye. This can be achieved through the use of color, shape, or detail.
Tips and Tricks for Success
-
Practice Regularly: Like any skill, fruit carving requires practice. Don't be discouraged if your first attempts aren't perfect. Keep practicing, and you'll gradually improve your technique.
-
Start Simple: Begin with simple designs and gradually work your way up to more complex carvings.
-
Keep Your Knives Sharp: Sharp knives are essential for precise cuts and clean lines. Sharpen your knives regularly to maintain their performance.
-
Work in a Cool Environment: Fruit carvings tend to wilt quickly in warm environments. Work in a cool, air-conditioned room to prolong the life of your carvings.
-
Keep the Fruit Moist: To prevent the fruit from drying out, mist it with water periodically or cover it with plastic wrap.
-
Use Templates: If you're struggling to create a specific design, use templates as a guide. You can find templates online or create your own.
-
Don't Be Afraid to Experiment: Fruit carving is a creative art form, so don't be afraid to experiment with different techniques and designs.
Common Mistakes to Avoid
-
Using Dull Knives: Dull knives can make fruit carving difficult and dangerous.
-
Applying Too Much Pressure: Applying too much pressure can cause the fruit to break or tear. Use gentle, controlled movements.
-
Rushing the Process: Fruit carving requires patience and attention to detail. Don't rush the process, or you're likely to make mistakes.
-
Ignoring Design Principles: Failing to consider design principles can result in a visually unappealing carving.
-
Not Keeping the Fruit Moist: Allowing the fruit to dry out can cause it to wilt and lose its shape.
Storing and Preserving Fruit Carvings
Fruit carvings are best enjoyed fresh, but you can store them for a short period of time.
-
Refrigeration: Store fruit carvings in the refrigerator, covered with plastic wrap or in an airtight container.
-
Spraying with Lemon Juice: Spritzing the fruit with lemon juice can help to prevent browning.
-
Avoid Freezing: Freezing fruit carvings is not recommended, as it can alter their texture and appearance.
Fruit Carving: A Rewarding Culinary Art
Fruit carving is a rewarding culinary art that allows you to express your creativity and add a touch of elegance to any occasion. With practice and patience, you can transform ordinary fruits into stunning edible masterpieces. So, grab your tools, choose your favorite fruits, and start carving!