Curing Meats at Home: A Beginner's Guide to Delicious Preservation
Unlock the ancient art of meat curing! This guide simplifies the process, offering safe and tasty recipes for bacon, gravlax, and more.
Curing Meats at Home: A Beginner's Guide to Delicious Preservation
Curing meat at home might sound intimidating, but it's a rewarding culinary adventure that allows you to create incredibly flavorful and unique dishes. This guide will walk you through the basics of meat curing, covering essential principles, safety precautions, and easy-to-follow recipes to get you started.
What is Meat Curing?
Meat curing is a preservation process that involves drawing moisture out of meat, inhibiting bacterial growth, and enhancing flavor. Historically, curing was essential for preserving meat before refrigeration. Today, we cure meat primarily for its distinctive taste and texture.
Several methods fall under the umbrella of meat curing, including:
- Dry Curing: The meat is rubbed with a dry curing mixture (salt, sugar, spices) and left to cure in a cool environment.
- Wet Curing (Brining): The meat is submerged in a brine solution (salt, water, sugar, spices) for a specific period.
- Smoking: While technically a separate process, smoking often complements curing, adding flavor and further aiding preservation.
The Science Behind Curing
The magic of meat curing lies in the interplay of several key ingredients:
-
Salt: The primary curing agent. Salt draws moisture out of the meat through osmosis, creating an environment hostile to bacteria. It also denatures proteins, altering the texture.
-
Sugar: Counteracts the harshness of salt and adds flavor. Sugar also provides food for beneficial bacteria involved in fermentation in some curing processes.
-
Nitrates/Nitrites: These compounds are crucial for preventing botulism, a deadly form of food poisoning. They also contribute to the characteristic pink color and cured flavor of many cured meats.
-
Spices: Add complexity and flavor to the cured meat. Common spices include black pepper, garlic, juniper berries, and herbs.
Safety First: Essential Precautions
Safety is paramount when curing meat at home. Botulism is a serious risk, and proper techniques are essential to prevent it.
-
Use Curing Salts (Prague Powder #1 or #2): These salts contain sodium nitrite (Prague Powder #1) or sodium nitrate (Prague Powder #2), which are specifically designed for curing meat. Never substitute with other types of salt.
-
Follow Recipes Exactly: Do not alter the ratios of salt, sugar, or curing salts in a recipe. These ratios are carefully calculated to ensure safety and proper curing.
-
Maintain Proper Temperatures: Keep your curing environment cool (ideally between 36-40°F or 2-4°C). Use a reliable refrigerator thermometer.
-
Use Clean Equipment: Sanitize all equipment (containers, utensils, cutting boards) with a bleach solution before use.
-
Monitor pH (Optional): For longer cures, monitoring the pH of the meat can help ensure proper fermentation and safety. Use pH strips or a pH meter.
-
Proper Storage: Store cured meats properly after curing to prevent spoilage. Vacuum sealing is ideal.
If you are unsure about any aspect of the curing process, consult with an experienced meat curer or refer to reputable resources like the USDA's guidelines.
Essential Equipment
While some curing projects can be done with minimal equipment, having the right tools will make the process easier and safer.
-
Accurate Scale: Measuring ingredients precisely is crucial for safety and consistency. A digital kitchen scale that measures in grams is essential.
-
Food-Grade Containers: Use non-reactive containers (glass, stainless steel, or food-grade plastic) for curing. Avoid aluminum or copper, which can react with the curing salts.
-
Refrigerator Thermometer: Monitor the temperature of your curing refrigerator to ensure it stays within the safe range.
-
Vacuum Sealer (Optional): For long-term storage, a vacuum sealer is highly recommended.
-
Meat Thermometer: Essential for checking the internal temperature of the meat during cooking after curing.
-
Curing Bags (Optional): These bags allow for even curing and protect the meat from contamination.
Getting Started: Easy Recipes for Beginners
Here are a few beginner-friendly recipes to introduce you to the world of meat curing:
1. Homemade Bacon (Dry Cured)
This recipe is a classic for a reason. It's relatively simple and yields incredibly flavorful bacon far superior to store-bought.
Ingredients:
- 2 lbs pork belly, skin removed
- 40g kosher salt
- 20g brown sugar
- 2.5g Prague Powder #1 (6.25% sodium nitrite)
- 5g black pepper, freshly ground
- 2g garlic powder
Instructions:
-
Prepare the Cure: In a bowl, combine the salt, sugar, Prague Powder #1, pepper, and garlic powder. Mix thoroughly.
-
Apply the Cure: Rub the curing mixture evenly over all surfaces of the pork belly. Place the pork belly in a ziplock bag or vacuum seal bag.
-
Cure: Refrigerate the pork belly for 7-10 days. Flip the belly every other day to ensure even curing. You will notice liquid accumulating in the bag – this is normal.
-
Rinse and Dry: Remove the pork belly from the bag and rinse thoroughly under cold water. Pat dry with paper towels.
-
Dry: Place the pork belly on a wire rack in the refrigerator for 12-24 hours to allow the surface to dry and form a pellicle (a tacky surface that helps the smoke adhere).
-
Smoke (Optional): Smoke the pork belly at 150-200°F (65-93°C) until it reaches an internal temperature of 150°F (65°C). This step is optional but adds a delicious smoky flavor. If you don't have a smoker, you can skip this step and proceed to cooking.
-
Cook: Slice the bacon and cook in a skillet or oven until crispy.
Tips:
- Use high-quality pork belly for the best flavor.
- Adjust the spices to your liking.
- For a sweeter bacon, increase the amount of brown sugar.
2. Gravlax (Cured Salmon)
Gravlax is a Scandinavian delicacy made by curing salmon with salt, sugar, and dill. It's a simple and elegant dish that requires no cooking.
Ingredients:
- 1 lb salmon fillet, skin on
- 50g kosher salt
- 50g sugar
- 1 bunch fresh dill, chopped
- 2 tbsp vodka or aquavit (optional)
- 1 tsp black peppercorns, crushed
Instructions:
-
Prepare the Cure: In a bowl, combine the salt, sugar, chopped dill, vodka (if using), and crushed peppercorns. Mix thoroughly.
-
Apply the Cure: Place the salmon fillet skin-side down on a piece of plastic wrap. Spread the curing mixture evenly over the flesh side of the salmon. Cover with another piece of plastic wrap.
-
Cure: Place a weight (such as a can of beans) on top of the salmon to help press it down. Refrigerate for 48-72 hours, flipping the salmon every 24 hours.
-
Rinse and Slice: Remove the salmon from the plastic wrap and rinse thoroughly under cold water. Pat dry with paper towels. Slice thinly on a bias, starting from the tail end.
Tips:
- Use the freshest salmon you can find.
- Experiment with different herbs and spices, such as lemon zest or juniper berries.
- Serve gravlax with rye bread, mustard sauce, or crème fraîche.
3. Lox (Brined Salmon)
Lox is similar to gravlax, but is brined instead of dry-cured. This gives it a different texture and flavor profile.
Ingredients:
- 1 lb salmon fillet, skin on
- 1 quart water
- 1/2 cup kosher salt
- 1/4 cup sugar
- 1 tbsp black peppercorns, crushed
- 1 bay leaf
Instructions:
-
Prepare the Brine: In a saucepan, combine the water, salt, sugar, peppercorns, and bay leaf. Bring to a boil, then simmer for 5 minutes. Remove from heat and let cool completely.
-
Brine the Salmon: Place the salmon fillet in a container and pour the cooled brine over it, ensuring it is fully submerged. You may need to weigh it down to keep it submerged.
-
Refrigerate: Refrigerate for 24-48 hours, depending on the thickness of the fillet. Taste a small piece after 24 hours to check for saltiness.
-
Rinse and Slice: Remove the salmon from the brine and rinse thoroughly under cold water. Pat dry with paper towels. Slice thinly on a bias, starting from the tail end.
Tips:
- Adjust the brining time based on the thickness of the salmon.
- Add other spices to the brine, such as dill, coriander, or citrus zest.
- Serve lox on bagels with cream cheese, onions, and capers.
Beyond the Basics: Exploring More Curing Techniques
Once you've mastered the basics, you can explore more advanced curing techniques, such as:
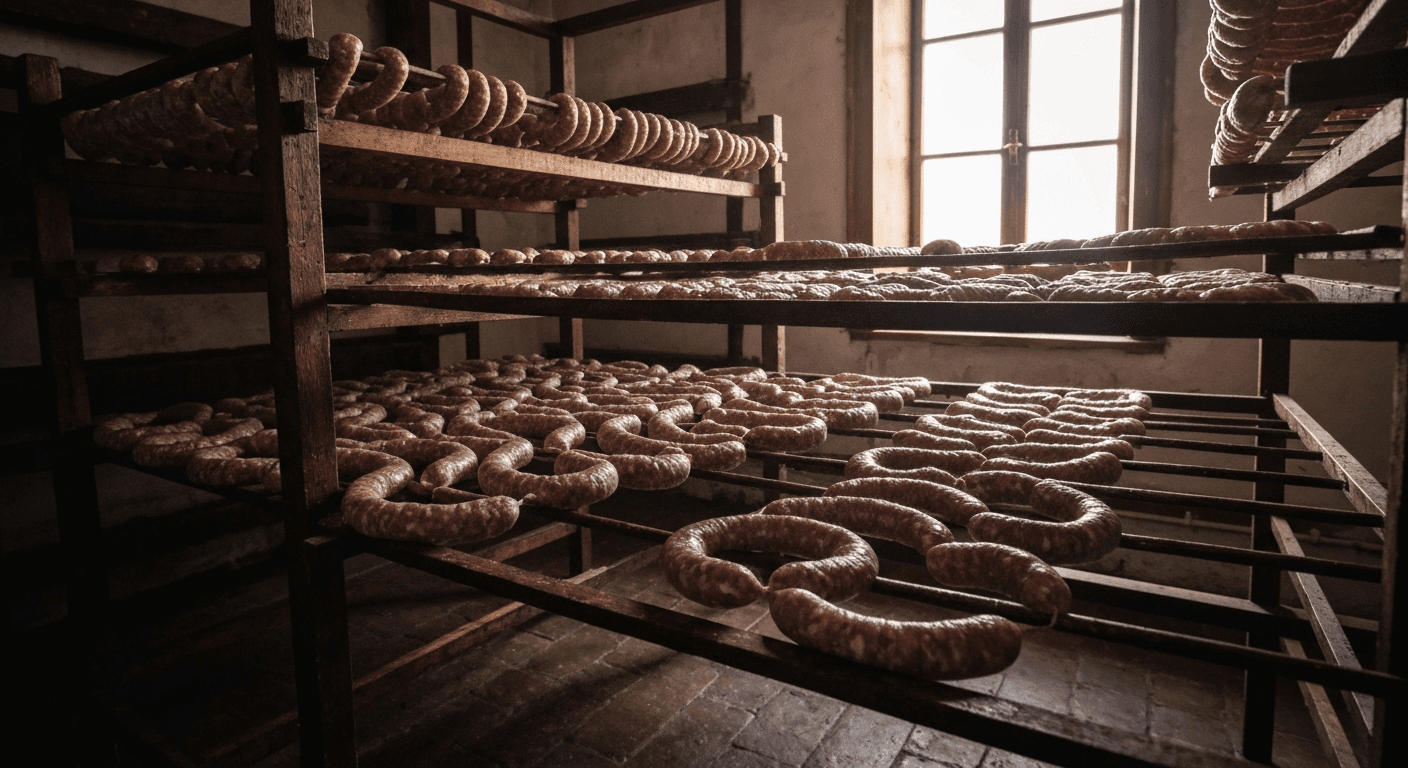
- Dry-Cured Sausages: Making your own salami, chorizo, or other dry-cured sausages.
- Whole Muscle Cures: Curing whole muscles of meat, such as prosciutto or coppa.
- Fermented Sausages: Utilizing beneficial bacteria to create complex flavors in sausages.
These techniques require more specialized knowledge and equipment, but the rewards are well worth the effort.
Conclusion
Curing meat at home is a rewarding and delicious way to preserve food and create unique flavors. By following the safety precautions and starting with simple recipes, you can embark on a culinary adventure that will impress your friends and family. So, gather your ingredients, sharpen your knives, and get ready to cure some delicious meats!