Charcuterie at Home: Mastering the Art of Dry Curing
Unlock the secrets of dry curing! Craft delicious salami, prosciutto, and more with our comprehensive guide.
Charcuterie at Home: A Comprehensive Guide to Dry Curing Meats
Dry curing meat at home might seem intimidating, but with the right knowledge and techniques, you can create incredible charcuterie that rivals anything you'd find in a specialty shop. This guide will demystify the process, covering everything from the science behind curing to step-by-step instructions for making your own dry-cured delicacies.
The Science of Dry Curing
Dry curing is a preservation method that relies on reducing the moisture content of meat, thereby inhibiting the growth of spoilage-causing bacteria. This is achieved through a combination of salt, nitrates or nitrites, and time.
Salt draws moisture out of the meat, creating an environment where harmful bacteria struggle to survive. It also enhances flavor and helps to denature proteins, contributing to the desired texture.
Nitrates and nitrites (often used in the form of curing salts like Prague Powder #1 or Prague Powder #2) play a crucial role in preventing botulism, a deadly form of food poisoning caused by the bacterium Clostridium botulinum. They also contribute to the characteristic pink color and flavor of cured meats.
Time is essential. As the meat cures, enzymes break down proteins and fats, leading to complex flavor development. The longer the curing process, the more intense and nuanced the flavors become.
Essential Equipment
Before you embark on your dry-curing adventure, you'll need to gather some essential equipment.
-
Meat Grinder: For making sausages and salami. A good quality grinder will ensure consistent texture.
-
Sausage Stuffer: Helps to pack ground meat into casings.
-
Curing Chamber: A controlled environment with regulated temperature and humidity. A refrigerator converted with a temperature and humidity controller works well.
-
Scale: Accurate measurements are crucial for safety and consistent results. A digital scale that measures in grams is essential.
-
pH Meter (Optional): Helps monitor the acidity of the meat during fermentation, ensuring safety.
-
Meat Thermometer: To ensure the meat reaches a safe internal temperature.
-
Vacuum Sealer (Optional): For sealing and storing finished products.
-
Knives: A sharp boning knife and a chef's knife are necessary for trimming and preparing the meat.
-
Cutting Board: A large, sturdy cutting board is essential.
Selecting Quality Ingredients
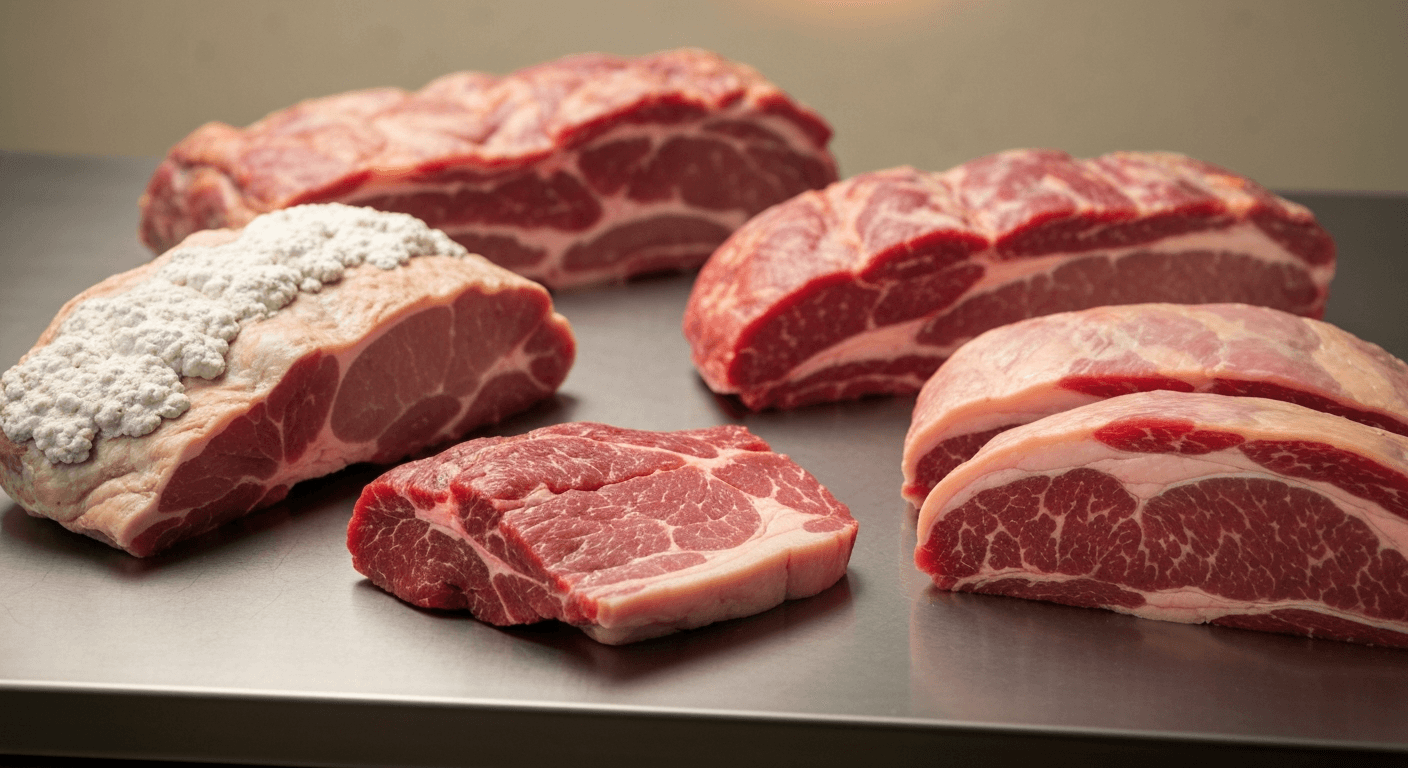
The quality of your ingredients will directly impact the final product. Choose the best quality meat you can afford.
-
Meat: Look for well-marbled cuts with good color. Pork shoulder is a popular choice for many cured meats. For prosciutto, a whole pork leg is required.
-
Salt: Use non-iodized salt, such as kosher salt or sea salt. Iodized salt can impart an off-flavor.
-
Curing Salts: Prague Powder #1 (sodium nitrite) is used for short-cured meats like sausages. Prague Powder #2 (sodium nitrate) is used for long-cured meats like salami and prosciutto. Always use these according to package directions.
-
Spices: Use fresh, high-quality spices for the best flavor. Experiment with different blends to create your own signature flavors.
-
Casings: Natural casings (made from animal intestines) or collagen casings are used for sausages and salami. Choose the appropriate size and type for your recipe.
Creating Custom Spice Blends
One of the most rewarding aspects of dry curing is the ability to create your own custom spice blends. Here are a few ideas to get you started:
-
Italian Salami: Garlic, black pepper, fennel seeds, red pepper flakes, and anise seeds.
-
Spanish Chorizo: Smoked paprika, garlic, oregano, and cayenne pepper.
-
German Landjäger: Caraway seeds, coriander, white pepper, and garlic.
Experiment with different combinations and adjust the ratios to suit your taste. Remember to keep detailed notes of your recipes so you can replicate your successes.
Safe Handling Practices
Safety is paramount when dry curing meat. Botulism is a serious risk, so it's crucial to follow safe handling practices.
-
Maintain Proper Temperatures: Keep your curing chamber at the recommended temperature (typically between 50-60°F or 10-15°C) and humidity (around 70-80%).
-
Use Curing Salts Correctly: Always measure curing salts accurately using a digital scale. Follow the package directions carefully.
-
Monitor pH Levels: Use a pH meter to monitor the acidity of the meat during fermentation. The pH should drop below 5.3 to inhibit the growth of harmful bacteria.
-
Practice Good Hygiene: Wash your hands thoroughly before and after handling raw meat. Sanitize all equipment and surfaces that come into contact with the meat.
-
Proper Storage: Store cured meats in a cool, dry place. Vacuum sealing can help to extend their shelf life.
Step-by-Step Instructions: Salami
Here's a basic recipe for making salami at home:
Ingredients:
- 5 lbs pork shoulder, cubed
- 1.5 oz kosher salt
- 0.25 oz Prague Powder #2
- 2 cloves garlic, minced
- 1 tbsp black peppercorns, cracked
- 1 tsp fennel seeds, crushed
- 1/2 cup dry red wine
- Salami casings
Instructions:
-
Grind the Meat: Grind the pork shoulder through a coarse die, then through a fine die.
-
Mix Ingredients: In a large bowl, combine the ground meat, salt, Prague Powder #2, garlic, black peppercorns, fennel seeds, and red wine. Mix thoroughly until the mixture is sticky.
-
Stuff Casings: Stuff the mixture into salami casings, making sure to pack tightly and remove any air pockets.
-
Ferment: Ferment the salami in a warm, humid environment (around 70-75°F or 21-24°C) for 24-48 hours, or until the pH drops below 5.3.
-
Dry Cure: Move the salami to your curing chamber and dry cure for 4-6 weeks, or until it has lost approximately 30-40% of its original weight.
-
Store: Store the finished salami in a cool, dry place.
Common Mistakes:
- Incorrect Salt Levels: Too little salt can lead to spoilage; too much can result in a dry, unpalatable product.
- Insufficient Fermentation: Failing to ferment the salami properly can increase the risk of harmful bacteria growth.
- Inadequate Drying: Not drying the salami long enough can result in a mushy texture.
Tips:
- Use a starter culture to ensure consistent fermentation.
- Weigh the salami regularly to monitor weight loss.
- Adjust the humidity in your curing chamber as needed to prevent case hardening (where the outside dries too quickly).
Step-by-Step Instructions: Prosciutto
Making prosciutto is a more involved process that requires patience and specialized equipment.
Ingredients:
- 1 whole pork leg (approximately 15-20 lbs)
- Kosher salt
- Prague Powder #2 (optional, but recommended for added safety)
Instructions:
-
Trim the Leg: Trim the pork leg, removing any excess fat and bone fragments.
-
Salt Cure: Cover the leg completely with kosher salt, ensuring that all surfaces are well coated. If using Prague Powder #2, mix it with the salt according to package directions.
-
First Cure: Place the salted leg in a refrigerator (36-40°F or 2-4°C) for approximately 7 days per inch of thickness. For example, a 6-inch thick leg should cure for 42 days.
-
Second Cure: Remove the leg from the refrigerator and brush off the salt. Re-salt the leg with fresh salt and place it back in the refrigerator for another 30 days.
-
Wash and Dry: After the second cure, wash the leg thoroughly with cold water and pat it dry.
-
Equilibrate: Hang the leg in a cool (50-60°F or 10-15°C), humid (70-80%) environment for 3-6 months to allow the moisture to equalize throughout the meat.
-
Dry Cure: Move the leg to a drier environment (60-70% humidity) and dry cure for 12-24 months, or until it has lost approximately 30-35% of its original weight.
-
Test and Enjoy: To test for doneness, insert a clean needle into the meat near the bone. Smell the needle. If it smells sweet and clean, the prosciutto is ready. If it smells foul, discard the prosciutto. Slice thinly and enjoy.
Common Mistakes:
- Insufficient Salting: Not using enough salt can lead to spoilage.
- Inadequate Drying Time: Rushing the drying process can result in a mushy texture.
- Improper Temperature and Humidity Control: Maintaining consistent temperature and humidity is crucial for successful curing.
Tips:
- Use a meat hook to hang the prosciutto leg securely.
- Regularly check the leg for mold growth. Wipe off any mold with a vinegar solution.
- Be patient! Prosciutto takes time to develop its characteristic flavor and texture.
Beyond Salami and Prosciutto
Once you've mastered the basics of salami and prosciutto, you can explore other dry-cured delicacies, such as:
- Coppa: Dry-cured pork shoulder.
- Bresaola: Air-dried, salted beef.
- Pancetta: Salt-cured pork belly.
- Lonzino: Dry-cured pork loin.
The possibilities are endless! With practice and experimentation, you can create a wide variety of delicious and unique dry-cured meats at home.
Dry curing meat at home is a rewarding and challenging endeavor. By understanding the science behind curing, using the right equipment, selecting quality ingredients, and following safe handling practices, you can create incredible charcuterie that will impress your friends and family. So, gather your supplies, sharpen your knives, and get ready to embark on a culinary adventure!