Capture Summer's Sweetness: A Guide to Jams, Jellies, and Fruit Butters
Preserve summer's best flavors! Learn to make delicious jams, jellies, and fruit butters with our comprehensive guide.
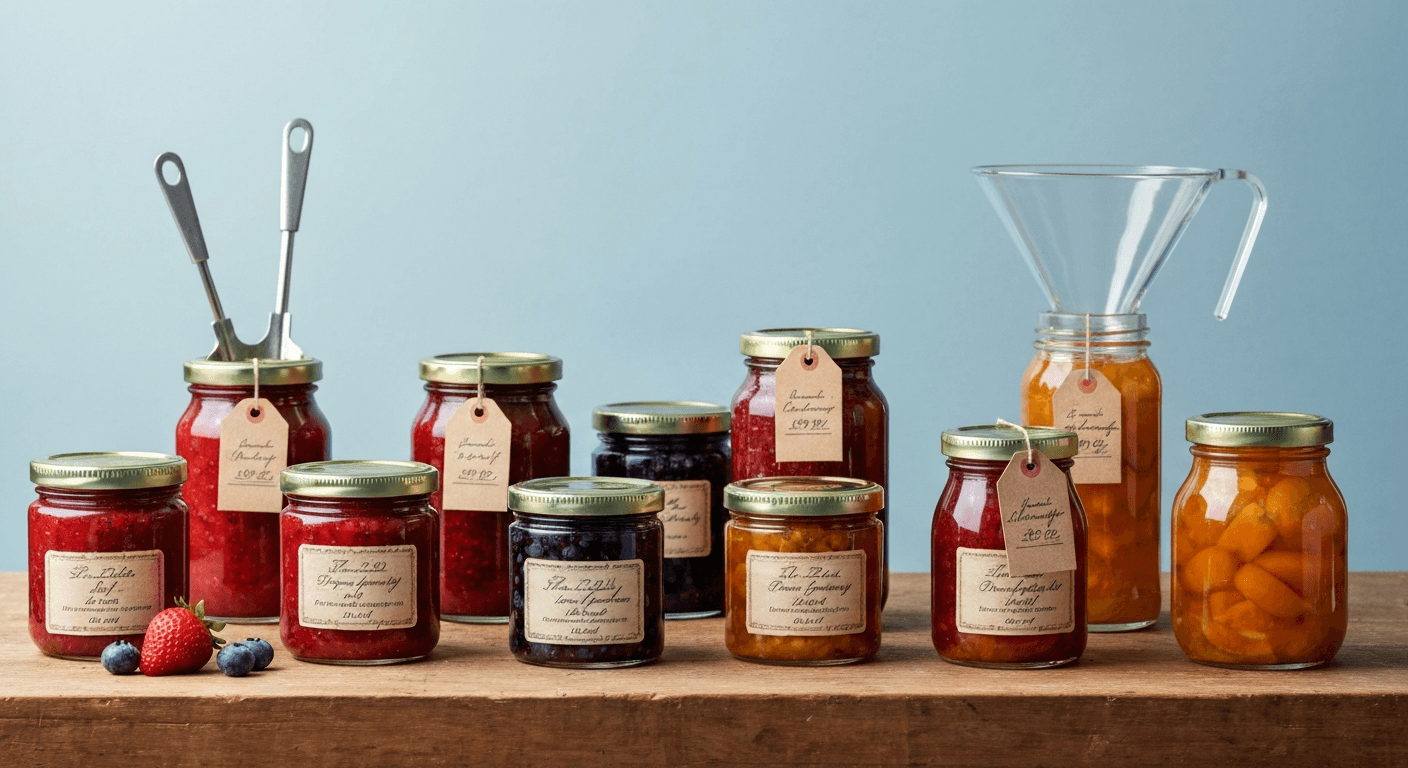
Summer's bounty is a fleeting joy, but with the art of preserving, you can savor those sun-ripened flavors all year long. This guide will walk you through the process of making jams, jellies, and fruit butters, ensuring you can enjoy the taste of summer even on the coldest winter day.
We'll cover everything from essential equipment and safety guidelines to delicious recipes and helpful tips. Get ready to transform your favorite fruits into delectable treats!
Understanding the Basics: Jams, Jellies, and Butters
Before we dive into recipes, let's clarify the differences between these popular preserves. Understanding these distinctions will help you choose the right method for your fruit and desired outcome.
Jam: Jam is made from crushed or chopped fruit, cooked with sugar until it reaches a spreadable consistency. It contains fruit pulp and seeds (unless removed).
Jelly: Jelly is made from fruit juice, sugar, and pectin. The result is a clear, firm spread without any fruit pulp.
Fruit Butter: Fruit butter is made from fruit puree cooked slowly with sugar and spices until it thickens into a smooth, intensely flavored spread. It has a lower sugar content than jams and jellies.
Essential Equipment for Preserving
Having the right tools is crucial for safe and successful preserving. Here's a list of essential equipment:
-
Water Bath Canner: A large pot with a rack to hold jars submerged in boiling water. This is essential for processing high-acid foods like jams and jellies.
-
Canning Jars: Specifically designed for preserving, with two-piece lids (flat lid and screw band). Choose the right size for your recipes.
-
Jar Lifter: A tool for safely lifting hot jars in and out of the canner.
-
Lid Lifter: A magnetic tool for lifting sterilized lids from hot water.
-
Wide-Mouth Funnel: For easily filling jars without spills.
-
Bubble Remover/Headspace Tool: A tool for removing air bubbles from jars and measuring headspace (the space between the top of the food and the lid).
-
Kitchen Scale: For accurate ingredient measurements, especially sugar.
-
Large Pot (Stainless Steel or Enamel): For cooking the fruit mixture. Avoid reactive metals like aluminum.
-
Measuring Cups and Spoons: For precise measurements.
-
Clean Kitchen Towels: For wiping jars and surfaces.
Safety First: Important Guidelines for Preserving
Food safety is paramount when preserving. Following these guidelines will help prevent spoilage and ensure your preserves are safe to eat.
-
Use Tested Recipes: Always use recipes from reputable sources, such as the USDA Complete Guide to Home Canning or Ball Blue Book Guide to Preserving. These recipes have been scientifically tested for safety.
-
Sterilize Jars and Lids: Sterilize jars by boiling them in water for 10 minutes. Sterilize lids by simmering them in hot water (not boiling).
-
Process Jars Properly: Follow the processing time specified in the recipe. This ensures a proper seal and eliminates harmful bacteria.
-
Check for Proper Seal: After processing, check that the jars have sealed properly. The lid should be concave and not flex when pressed.
-
Store Properly: Store sealed jars in a cool, dark, and dry place.
-
Discard Unsealed Jars: If a jar doesn't seal, refrigerate it immediately and use the contents within a few days, or reprocess with a new lid within 24 hours.
-
Label and Date: Label each jar with the contents and date of processing.
Step-by-Step: Making Strawberry Jam
Let's walk through a classic recipe: Strawberry Jam. This recipe uses pectin to ensure a good set.
Ingredients:
-
4 cups crushed strawberries (about 2 quarts whole)
-
4 cups sugar
-
1/4 cup lemon juice
-
1 package powdered pectin
Instructions:
-
Prepare Jars and Lids: Sterilize canning jars and simmer lids in hot water.
-
Combine Ingredients: In a large pot, combine crushed strawberries, lemon juice, and pectin.
-
Bring to a Boil: Bring the mixture to a full rolling boil over high heat, stirring constantly. A full rolling boil is one that doesn't stop when stirred.
-
Add Sugar: Add the sugar all at once and stir continuously until dissolved.
-
Boil Again: Return to a full rolling boil and boil for 1 minute, stirring constantly.
-
Test for Set: Remove the pot from the heat. To test for set, place a small spoonful of jam on a chilled plate. Let it cool for a minute. If it wrinkles when pushed with your finger, it's ready. If not, cook for another minute and test again.
-
Fill Jars: Ladle hot jam into sterilized jars, leaving 1/4 inch headspace.
-
Remove Air Bubbles: Use a bubble remover tool to release any trapped air bubbles.
-
Wipe Jar Rims: Wipe the rims of the jars with a clean, damp cloth.
-
Place Lids and Bands: Place sterilized lids on the jars and screw on the bands until fingertip tight (not too tight).
-
Process in Water Bath Canner: Place jars in a water bath canner, ensuring they are covered by at least 1 inch of water. Bring to a boil and process for 10 minutes (adjust for altitude if necessary).
-
Cool and Check Seals: Turn off the heat, remove the canner lid, and let the jars sit in the water for 5 minutes. Then, carefully remove the jars and place them on a towel-lined surface to cool completely. After 12-24 hours, check the seals.
Troubleshooting Common Issues
Even with careful preparation, sometimes things don't go as planned. Here are some common issues and how to address them:
-
Jam Doesn't Set: This can be due to insufficient pectin, undercooking, or inaccurate measurements. You can try re-cooking the jam with more pectin or lemon juice.
-
Mold Growth: Mold indicates spoilage. Discard the entire jar.
-
Liquid Separation: This can happen if the fruit wasn't cooked long enough or if the sugar content is too low. It's generally safe to eat if the jar is sealed, but the texture may be less appealing.
-
Crystals in Jam: This can be caused by too much sugar or improper cooling.
Beyond the Basics: Exploring Fruit Butters and Jellies
Once you've mastered jams, you can explore other delightful preserves.
Fruit Butters: Apple butter, pumpkin butter, and pear butter are all delicious options. They require slow cooking to achieve a smooth, spreadable consistency. Spices like cinnamon, nutmeg, and cloves add warmth and depth of flavor.
Jellies: Making jelly requires extracting the juice from the fruit. This can be done by simmering the fruit with water and then straining it through a jelly bag or cheesecloth. Clear juices yield the best jellies.
Recipe: Spiced Apple Butter
This recipe uses a slow cooker for hands-off cooking.
Ingredients:
-
6 pounds apples, peeled, cored, and quartered
-
1 cup apple cider
-
1 cup brown sugar
-
1/2 cup granulated sugar
-
2 tablespoons apple cider vinegar
-
2 teaspoons ground cinnamon
-
1 teaspoon ground nutmeg
-
1/2 teaspoon ground cloves
Instructions:
-
Combine Ingredients: Place all ingredients in a slow cooker.
-
Cook on Low: Cook on low for 8-10 hours, or until the apples are very soft and the mixture has thickened.
-
Puree: Use an immersion blender to puree the apple butter until smooth.
-
Cook Further (if needed): If the apple butter is too thin, continue cooking on low with the lid off for another 1-2 hours, or until it reaches the desired consistency.
-
Process in Water Bath Canner: Ladle hot apple butter into sterilized jars, leaving 1/4 inch headspace. Process in a water bath canner for 10 minutes (adjust for altitude if necessary).
Tips for Success
-
Use Ripe Fruit: Choose ripe, but not overripe, fruit for the best flavor and texture.
-
Adjust Sugar to Taste: You can adjust the sugar content slightly to suit your preferences, but be careful not to reduce it too much, as sugar acts as a preservative.
-
Add Lemon Juice: Lemon juice helps to balance the sweetness and adds acidity, which is important for preservation.
-
Be Patient: Preserving takes time and attention to detail. Don't rush the process.
-
Enjoy the Process: Preserving is a rewarding experience. Savor the aroma of simmering fruit and the satisfaction of creating homemade treats.
Conclusion
Preserving summer's bounty is a wonderful way to extend the season and enjoy the flavors of fresh fruit all year round. With a little practice and attention to detail, you can create delicious jams, jellies, and fruit butters that will impress your friends and family. So, gather your ingredients, grab your equipment, and get ready to capture the sweetness of summer!