Capture Summer's Bounty: A Guide to Jams, Jellies, and Marmalades
Preserve the taste of summer! Learn to make delicious jams, jellies, and marmalades with our comprehensive guide.
Preserving the Season: Making Jams, Jellies, and Marmalades
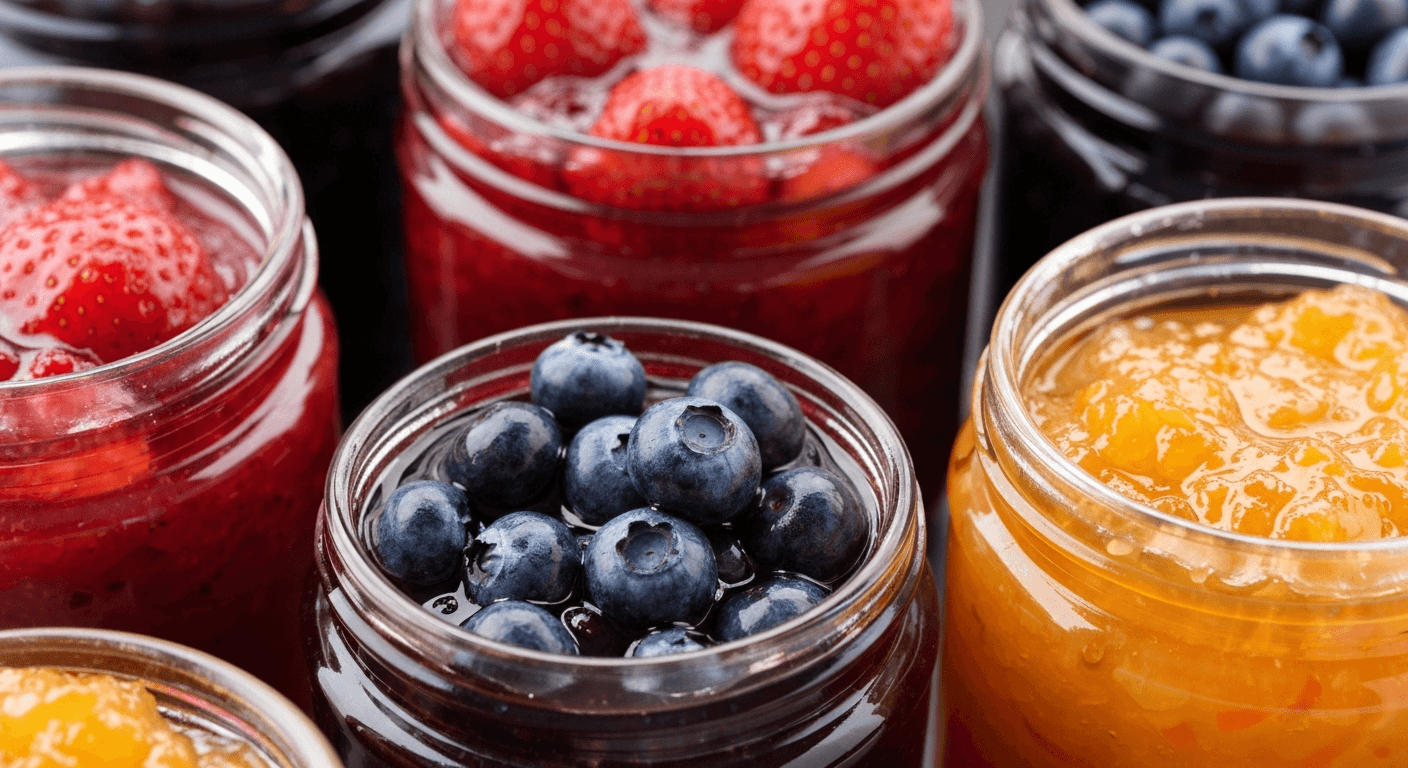
Summer's fleeting flavors are a treasure. What better way to hold onto them than by crafting your own homemade jams, jellies, and marmalades? This guide will walk you through the basics of preserving these sweet delights, covering everything from pectin science to sterilization techniques and offering mouthwatering recipes.
Understanding the Preserves: Jam, Jelly, and Marmalade
While all three involve cooking fruit with sugar, key differences define each preserve. Understanding these distinctions is crucial for successful preserving.
Jam: Jam is made from crushed or chopped fruit cooked with sugar until thickened. It retains the fruit's pulp and seeds (unless removed). Jams offer a rustic, textured spread.
Jelly: Jelly is made from fruit juice, sugar, and pectin. It should be clear, firm, and free of fruit pulp. Perfect jelly requires careful clarification of the juice.
Marmalade: Marmalade is a citrus-based preserve, typically made with the peel, pulp, and juice of citrus fruits like oranges, lemons, and grapefruits. The peel is suspended in a clear, slightly bitter jelly.
The Science of Setting: Pectin, Acid, and Sugar
The magic behind a well-set jam or jelly lies in the interplay of pectin, acid, and sugar. These three elements work together to create the desired consistency.
Pectin: Pectin is a naturally occurring substance found in fruits, acting as a gelling agent. Some fruits, like apples, citrus fruits, and cranberries, are naturally high in pectin. Others, like strawberries and peaches, require added pectin to achieve a proper set.
Acid: Acid helps pectin form a gel structure. Fruits naturally contain acid, but sometimes lemon juice is added to increase the acidity, especially when using low-acid fruits.
Sugar: Sugar not only sweetens the preserve but also acts as a preservative and contributes to the gelling process by drawing water away from the pectin molecules. The correct sugar ratio is crucial for a successful set.
Equipment Essentials for Home Preserving
Having the right equipment makes the preserving process safer and more efficient. Here's a list of essential tools:
-
Water Bath Canner: A large pot with a rack used for sterilizing jars and processing filled jars.
-
Canning Jars: Specifically designed jars with two-part lids (flat lid and screw band) for proper sealing. Choose the appropriate size for your recipe.
-
Jar Lifter: A tool for safely lifting hot jars in and out of the canner.
-
Wide-Mouth Funnel: For easily filling jars without spilling.
-
Ladle: For transferring hot jam or jelly into jars.
-
Candy Thermometer: For accurately monitoring the temperature of the cooking jam or jelly.
-
Kitchen Scale: For precise measurements of fruit and sugar.
-
Measuring Cups and Spoons: For accurate ingredient measurements.
-
Clean Kitchen Towels: For wiping rims of jars and general cleanup.
Step-by-Step: Sterilizing Jars and Lids
Sterilizing jars and lids is essential to prevent mold and bacteria growth, ensuring your preserves are safe to eat. Follow these steps:
-
Prepare the Canner: Fill the water bath canner with enough water to cover the jars by at least 1 inch. Place the rack in the bottom of the canner.
-
Heat the Jars: Place the clean jars on the rack in the canner. Bring the water to a simmer (180°F or 82°C) and keep the jars hot until ready to fill.
-
Heat the Lids: Place the flat lids in a separate saucepan and cover them with water. Heat to a simmer (not boiling) and keep hot until ready to use. Do not boil the lids, as this can damage the sealing compound.
-
Keep Screw Bands Clean: The screw bands do not need to be sterilized but should be clean and free of rust or dents.
Common Mistakes:
- Not sterilizing jars and lids properly can lead to spoilage.
- Boiling the lids can damage the sealing compound.
Tips:
- Keep the jars and lids hot until ready to use.
- Sterilize extra jars in case your recipe yields more than expected.
Making Jam: A Classic Strawberry Jam Recipe
Strawberry jam is a quintessential summer treat. This recipe provides a simple and delicious introduction to jam making.
Ingredients:
- 4 cups crushed strawberries (about 2 pounds)
- 4 cups granulated sugar
- 1/4 cup lemon juice
- 1 package (1.75 ounces) powdered pectin
Instructions:
-
Prepare the Fruit: Wash, hull, and crush the strawberries. Measure 4 cups of crushed strawberries into a large, heavy-bottomed saucepan.
-
Add Pectin: Stir in the powdered pectin.
-
Bring to a Boil: Bring the mixture to a full rolling boil over high heat, stirring constantly. A full rolling boil is a boil that doesn't stop when stirred.
-
Add Sugar: Add the sugar all at once and stir constantly.
-
Boil Again: Return to a full rolling boil and boil for 1 minute, stirring constantly.
-
Test for Set: Remove the saucepan from the heat. To test for set, place a small spoonful of jam on a chilled plate. Let it cool for a minute. If it wrinkles when you push it with your finger, it's ready. If not, return the jam to the heat and boil for another minute, then test again.
-
Fill Jars: Ladle the hot jam into the sterilized jars, leaving 1/4 inch headspace.
-
Remove Air Bubbles: Run a non-metallic spatula or bubble remover along the inside of the jar to release any trapped air bubbles.
-
Wipe Rims: Wipe the rims of the jars with a clean, damp cloth.
-
Place Lids and Bands: Place the sterilized lids on the jars and screw on the bands fingertip tight (not too tight).
-
Process in Water Bath: Lower the filled jars into the simmering water bath canner. Ensure the water covers the jars by at least 1 inch.
-
Process Time: Bring the water to a rolling boil and process for 10 minutes. Adjust processing time for altitude.
-
Cool and Check Seals: Turn off the heat and let the jars sit in the canner for 5 minutes before removing them. Place the jars on a towel-lined surface to cool completely. As the jars cool, you should hear a popping sound as the lids seal.
-
Check Seals: After 12-24 hours, check the seals by pressing down on the center of each lid. If the lid doesn't flex, it's sealed. If the lid flexes, the jar didn't seal properly and should be refrigerated and used within a few weeks.
Common Mistakes:
- Not using enough sugar can prevent the jam from setting properly.
- Overcooking the jam can result in a tough, rubbery texture.
- Underprocessing the jars can lead to spoilage.
Tips:
- Use high-quality, ripe strawberries for the best flavor.
- Adjust the amount of sugar to your taste, but remember that sugar is essential for preservation.
- If you don't have powdered pectin, you can use liquid pectin. Follow the instructions on the package.
Making Jelly: A Sparkling Apple Jelly Recipe
Apple jelly is a beautiful and versatile preserve, perfect for spreading on toast or glazing meats.
Ingredients:
- 6 cups apple juice (freshly pressed or high-quality store-bought)
- 4 1/2 cups granulated sugar
- 1/4 cup lemon juice
- 1 package (1.75 ounces) powdered pectin
Instructions:
-
Prepare the Juice: If using whole apples, wash and chop them. Simmer them in water until soft, then strain the juice through a jelly bag or several layers of cheesecloth. Don't squeeze the bag, as this will cloud the jelly.
-
Combine Ingredients: In a large, heavy-bottomed saucepan, combine the apple juice, sugar, lemon juice, and powdered pectin.
-
Bring to a Boil: Bring the mixture to a full rolling boil over high heat, stirring constantly.
-
Boil to Jelly Stage: Continue to boil, stirring constantly, until the jelly reaches the setting point. Use a candy thermometer to monitor the temperature. Jelly is typically ready at 220°F (104°C).
-
Test for Set: Alternatively, test for set by placing a small spoonful of jelly on a chilled plate. Let it cool for a minute. If it wrinkles when you push it with your finger, it's ready.
-
Remove from Heat: Remove the saucepan from the heat and skim off any foam that has formed on the surface.
-
Fill Jars: Ladle the hot jelly into the sterilized jars, leaving 1/4 inch headspace.
-
Remove Air Bubbles: Run a non-metallic spatula or bubble remover along the inside of the jar to release any trapped air bubbles.
-
Wipe Rims: Wipe the rims of the jars with a clean, damp cloth.
-
Place Lids and Bands: Place the sterilized lids on the jars and screw on the bands fingertip tight.
-
Process in Water Bath: Lower the filled jars into the simmering water bath canner. Ensure the water covers the jars by at least 1 inch.
-
Process Time: Bring the water to a rolling boil and process for 10 minutes. Adjust processing time for altitude.
-
Cool and Check Seals: Turn off the heat and let the jars sit in the canner for 5 minutes before removing them. Place the jars on a towel-lined surface to cool completely.
-
Check Seals: After 12-24 hours, check the seals by pressing down on the center of each lid. If the lid doesn't flex, it's sealed.
Common Mistakes:
- Cloudy juice will result in cloudy jelly.
- Overcooking jelly can make it too firm.
- Undercooking jelly will prevent it from setting.
Tips:
- Use a jelly bag or several layers of cheesecloth to strain the juice for the clearest jelly.
- Skim off any foam from the surface of the jelly before filling the jars.
- Adjust the amount of sugar to your taste, but remember that sugar is essential for preservation.
Making Marmalade: A Tangy Orange Marmalade Recipe
Orange marmalade is a classic breakfast spread with a delightful balance of sweet and bitter flavors.
Ingredients:
- 2 pounds oranges (about 6 medium)
- 8 cups water
- 6 cups granulated sugar
- 1/4 cup lemon juice
Instructions:
-
Prepare the Oranges: Wash the oranges thoroughly. Cut them into quarters and remove the seeds.
-
Slice the Peel: Thinly slice the orange peel.
-
Prepare the Pulp: Chop the orange pulp coarsely.
-
Combine Ingredients: In a large, heavy-bottomed saucepan, combine the sliced peel, chopped pulp, water, and lemon juice.
-
Soak Overnight: Cover the mixture and let it soak at room temperature for 12-24 hours. This softens the peel and helps release the pectin.
-
Cook the Mixture: Bring the mixture to a boil over medium heat. Reduce the heat and simmer for about 1 hour, or until the peel is tender.
-
Add Sugar: Add the sugar and stir until dissolved.
-
Boil to Marmalade Stage: Increase the heat and bring the mixture to a full rolling boil. Boil until the marmalade reaches the setting point. Use a candy thermometer to monitor the temperature. Marmalade is typically ready at 220°F (104°C).
-
Test for Set: Alternatively, test for set by placing a small spoonful of marmalade on a chilled plate. Let it cool for a minute. If it wrinkles when you push it with your finger, it's ready.
-
Remove from Heat: Remove the saucepan from the heat and skim off any foam that has formed on the surface.
-
Let Stand: Let the marmalade stand for 5-10 minutes before filling the jars. This helps distribute the peel evenly.
-
Fill Jars: Ladle the hot marmalade into the sterilized jars, leaving 1/4 inch headspace.
-
Remove Air Bubbles: Run a non-metallic spatula or bubble remover along the inside of the jar to release any trapped air bubbles.
-
Wipe Rims: Wipe the rims of the jars with a clean, damp cloth.
-
Place Lids and Bands: Place the sterilized lids on the jars and screw on the bands fingertip tight.
-
Process in Water Bath: Lower the filled jars into the simmering water bath canner. Ensure the water covers the jars by at least 10 minutes. Adjust processing time for altitude.
-
Cool and Check Seals: Turn off the heat and let the jars sit in the canner for 5 minutes before removing them. Place the jars on a towel-lined surface to cool completely.
-
Check Seals: After 12-24 hours, check the seals by pressing down on the center of each lid. If the lid doesn't flex, it's sealed.
Common Mistakes:
- Not soaking the oranges long enough can result in tough peel.
- Overcooking marmalade can make it too thick and bitter.
- Undercooking marmalade will prevent it from setting.
Tips:
- Use a variety of oranges for a more complex flavor.
- Adjust the amount of sugar to your taste, but remember that sugar is essential for preservation.
- Experiment with adding other citrus fruits, such as lemons or grapefruits, for a unique marmalade.
Safety First: Important Preserving Guidelines
Preserving food at home requires careful attention to safety guidelines. Following these tips will help ensure your preserves are safe to eat:
-
Use tested recipes: Always use recipes from reliable sources, such as the USDA or university extension services.
-
Follow processing times: Process jars for the correct amount of time based on your altitude.
-
Check seals: Always check the seals of your jars after processing.
-
Store properly: Store jars in a cool, dark, and dry place.
-
Use within recommended time: Consume within 12-18 months for best quality.
-
Discard if spoiled: If you notice any signs of spoilage, such as mold, bulging lids, or an off odor, discard the preserve immediately.
Enjoying Your Homemade Preserves
Homemade jams, jellies, and marmalades are a delightful addition to any kitchen. Enjoy them on toast, scones, or biscuits. Use them as fillings for pastries or cakes. Pair them with cheese and crackers for a sophisticated appetizer. Or simply savor them straight from the spoon!
By following these guidelines and recipes, you can capture the vibrant flavors of summer and enjoy them all year long. Happy preserving!